
Contents
- What a website chatbox is and when you should use one
- What to prepare before installing to avoid errors from the start
- How to set up a chatbox on a website using a plugin or embed code
- How to install the most commonly searched chatbox types
- How to check after installation to know the chatbox is working properly
- When to install it yourself and when to get professional help
- Frequently asked questions about how to set up a chatbox on a website
If you need to add a chatbox to your website so visitors can ask questions quickly, the most important thing is choosing a setup method that is easy to test and won’t clutter your codebase. For shop owners, small businesses, marketers, or fanpage admins, how to set up a chatbox on a website should prioritize the basics: insert the code in the right place, check how it displays on both desktop and mobile, and avoid deep customization if you are not fully confident. Common issues include the widget not appearing, misaligned placement, or slower load speed. This article focuses on a safe, easy-to-apply approach that is enough for you to test before putting the chatbox into real use.
What a website chatbox is and when you should use one
A website chatbox is a chat window displayed directly on a page so visitors can send questions and get quick replies. It helps close demand, retain leads, and reduce missed messages when a website receives many inquiries.
On a consulting landing page or e-commerce website, a chatbox is often used to ask about pricing, check stock, book appointments, or hand off to sales. If your website has traffic but contact forms are rarely filled out, a well-placed chat window often gets visitors to start a conversation faster.
For beginners, it is best to think of a chatbox as an online support tool connected to your website, not just a decorative messaging button. Setting up a chatbox for a website makes the most sense when your team has someone available to respond within minutes, or when you want to reduce missed inbox messages during peak hours. If the website is still new, has few inquiries, and no one is monitoring chat yet, you can temporarily use a form or a simple call button instead.
How chatbox, chatbot, live chat, and Facebook chat differ
A chatbox is the chat interface on a website; a chatbot is the automated response component; live chat is when a real person replies directly; and a Facebook chat window is a messaging window through a social media channel. The difference lies in where the customer stays and how much automation is involved.

An e-commerce website often needs a chatbot for the website to answer repetitive questions, then hand off to live chat when customers ask for details. Service pages often use a Facebook chatbox for the web if the team is already handling inbox messages on the fanpage. If you want to embed it directly into the site interface, integrating a chatbox into the website will be more flexible than a fixed messaging button.
When to install a chatbox right away, and when you do not need one yet
You should install a chatbox right away when your website has traffic but low conversion, customers frequently ask about pricing, or sales cannot respond quickly outside working hours. This is also when how to set up a chatbox on a website has the clearest impact, because it reduces lead drop-off at the point where visitors are still deciding.
You do not need a complex rollout yet if the website is still temporary, lead volume is low, or no one is available to monitor chat. At that stage, adding a website chat plugin too early can clutter the interface without generating more orders. A quick check is to look at how many messages were missed in the last 3 days; if that number is close to zero, the priority may not be the chatbox yet.
What to prepare before installing to avoid errors from the start
Before installing, you need to clearly identify what platform the website is running on, who has admin rights, which pages the chatbox will appear on, and whether the goal is consultation support or lead generation. Doing this in the right order helps you choose the correct way to set up a chatbox on a website and avoid having to remove and reinstall it just because of the wrong platform or display location.
Should you choose a plugin or embed code?
If the website uses WordPress and you do not want to touch code, a plugin is the fastest way to install a chatbot on a WordPress website. If the system allows direct insertion into the head or body, embed code is more flexible and less dependent on the theme.
- Choose a plugin when you need to add a website chat plugin quickly, with easy on/off control and simple admin configuration.
- Choose embed code when you want control over display placement, or when the platform does not have a suitable plugin repository.
- For the method of inserting chatbox code into the head tag, you need to check whether you have permission to edit the theme or add scripts sitewide.
- If your goal is to create an auto-reply chat box on the website, prioritize the option that is easier to maintain rather than the one with more customization but harder control.
What to check before installing
One proper check is far cheaper than fixing errors after the chatbox is already live on the site.
- Admin rights: do you have enough permission to install plugins, edit the theme, or add scripts?
- Code insertion location: will the chatbox appear sitewide or only on the homepage, product pages, or contact page?
- Mobile devices: does the chat button cover content or break the layout on small screens?
- Theme/plugin conflicts: after enabling it, does the page become slower, show JS errors, or lose other buttons?
- On/off status: you should decide which pages have chat enabled and which pages have it disabled to avoid bothering readers.
- Chat schedule: if you only want support during business hours, set the status by time slot instead of leaving it open 24/7.
When installing a chatbox on a WordPress website or other systems, follow this order: check admin rights → choose the right tool → prepare the embed code or plugin → test desktop and mobile display before publishing.
How to set up a chatbox on a website using a plugin or embed code
How to set up a chatbox on a website starts with creating the widget, getting the embed code or choosing the right plugin, then inserting it in the correct place and checking how it actually displays on both desktop and mobile. Following this order helps the chatbox appear reliably, avoid covering important buttons, and prevent page slowdown if too many layers are configured.

Installing a chatbox on WordPress in the most controllable way
Installing a chatbot on a WordPress website is usually cleanest when you go through the admin area, install a single chat plugin, and then check the display position before publishing. If the site already has a plugin for header/footer insertion, you can paste the embed code there instead of adding a new plugin to avoid conflicts.
Read more: Customer Feedback Collection Tools: How to Choose the Right One
- Go to the WordPress admin dashboard, select Plugins, and find a chat plugin that fits your needs.
- Install and activate only one plugin; do not stack multiple chat plugins at once because floating buttons can overlap.
- If the chatbox provider gives you embed code, paste it into the theme’s header/footer area or into a plugin that supports code insertion.
- Save changes, open the homepage in an incognito tab, and check whether the chat window appears in the corner of the screen.
- Try opening the chat on both desktop and mobile to see whether it covers the menu, purchase button, or other call-to-action buttons.
A common issue is that the plugin is activated but the chatbox still does not appear because the code was pasted in the wrong area, or the cache is holding an old version. In that case, clear the cache, refresh the page, and check whether the plugin is being blocked by JavaScript optimization.
Embedding chatbox code on a non-WordPress website
For a custom-coded website or another CMS, the way to add chat code to the website is to insert the correct script snippet in the recommended location, usually before the closing body tag or in the head section if the technical documentation requires it. This approach is suitable when you need direct control over the interface files and do not want to depend on plugins.
- Create the widget/chatbox in the chat management system and copy the embed code.
- Open the template file or the website’s script insertion area, then paste the code in the location specified by the instructions.
- Save the file, deploy it to the live environment, and refresh the browser to check.
- If the website uses cache, minification, or script bundling, temporarily disable it to prevent the chatbox from loading late or not appearing at all.
- Test on both mobile and desktop, and check whether the chatbox covers the registration button, order button, or another popup.
If the chatbox appears only on some pages, it is usually because the code snippet has not been placed in the shared template. In that case, move the script to the sitewide layout file and check again after each update.
How to install the most commonly searched chatbox types
How to set up a chatbox on a website differs by channel, but the common point is that you must identify the correct connection source, display location, and admin rights before adding it to the web. With fanpages, users usually leave the website for Messenger; with embedded widgets, administrators need to check the inserted code, display language, and where it appears on the screen.
Installing a Facebook chatbox for a website
A Facebook chatbox for the web is suitable when the support team already uses the fanpage as its main channel and wants customers to move to Messenger to continue the conversation. Before installing the Facebook chat plugin for a website, check page admin rights, because accounts with limited roles often cannot create a stable connection.

The steps to follow:
- Log in to the Facebook page used for customer support.
- Create or copy the chat plugin code for the website from the page settings.
- Insert the code into the website at the recommended location, usually before the closing “ tag or according to the theme instructions.
- Open the website on desktop and mobile to see whether the chat box covers the purchase button.
When deploying a Facebook chatbox for the web, you need to pay attention to channel switching behavior. Users who click chat may leave the website for Messenger, so it is better suited to pages that need consultation before checkout. On mobile, the chat button sometimes takes up more space than expected, so you should test it on small screens and check how quickly it can be opened and closed.
Installing Tawk.to chatbox or similar tools
Installing Tawk.to chatbox or similar tools usually follows the process of creating a widget, getting the embed code, and then adding it to the website. This approach works well when you need a compact online support tool that does not depend on a fanpage and gives you better control over display placement.
Basic steps include:
- Create the chat widget in the admin account.
- Copy the widget’s embed code.
- Paste the code into the website through the theme, code manager, or sitewide script insertion area.
- Reload the page and check whether the widget appears in the correct language, in the correct corner of the screen, and on both the homepage and inner pages.
If the widget does not appear, the problem is usually the code insertion location or a conflict with a cache plugin. On WordPress websites, the way to add chat code to the website should be checked after clearing the cache, because in many cases the code has been saved but not displayed yet. If the chat icon is misaligned, clipped, or overlapping a banner, you need to change the anchor position or reduce the interface padding before going live.
How to check after installation to know the chatbox is working properly
After installation, a chatbox is only considered working properly when you verify four things: the widget appears correctly, the chat window opens, messages can be sent and received normally, and the layout is not distorted on either desktop or mobile. With how to set up a chatbox on a website, this verification step helps catch cache, script, and page-specific display issues early.

Checklist for display and responsiveness
- Open the homepage, product page, and an inner page to see whether the chat button appears in all three places.
- Open the chat on desktop and mobile; the window should expand quickly and not be covered by banners, floating menus, or call buttons.
- Send a test message and check the response status in the online support software or admin inbox.
- Reload the page after clearing browser cache and site cache to see whether the widget still displays correctly.
- Quickly measure load speed after inserting the code; if the page becomes unusually slow, you need to review the way chat code is added to the website or where the script loads.
Common post-installation errors and how to isolate the cause
The most common error is that the code was pasted correctly but the widget still does not appear. In that case, check in order: whether the code was saved on the correct page, whether the widget is enabled in the settings, and only then move on to cache and plugin conflicts. If you use WordPress, the error often comes from inserting the code in the wrong area; a script that needs to be placed in the head but ends up in page content is a fairly common situation. If the chatbox appears in the wrong position or only on some pages, review the page-specific display conditions and temporarily disable speed optimization plugins to test again. Once cache has been ruled out and the issue remains, the most likely cause is a script conflict or a mismatch in the chatbot installation on the WordPress website.
When to install it yourself and when to get professional help
Read more: What Is Shopee Sales Management Software?
Doing how to set up a chatbox on a website yourself is suitable when the website is simple, you have admin rights, and you only need to insert a basic script or plugin. This is usually safe if you can check the layout on desktop and mobile, and test messages in 2–3 important places such as the homepage, product page, or contact page.
If the site has many scripts, cache, minification, or a complex conversion flow, you should get professional help from the start. One wrong insertion into `head`, or allowing a plugin to override CSS/JS, can cause the chatbox not to appear, distort the layout, or break tracking.
When you should install the chatbox yourself
You should install it yourself if you use WordPress, Shopify, or a simple informational website, because you only need to work in the places the system allows. For example, on WordPress you usually paste the code into a plugin such as WPCode, Insert Headers and Footers, or through `Appearance > Theme File Editor` if you fully understand the risks.
Suitable cases for doing it yourself:
- You have admin access and know which theme you are editing.
- The website only has 1–2 main scripts and does not use too many management tags.
- The chatbox only needs basic display and does not yet need CRM or chatbot syncing.
- After installation, you can open Chrome DevTools to see whether the script has loaded.
A simple example to check: if the code is inserted correctly, the chat icon usually appears in the bottom-right corner after 5–10 seconds of page load. If you do not see it, check the cache in LiteSpeed Cache, WP Rocket, or any JS optimization plugin that may be delaying the script.
When you should get professional help
You should ask someone experienced when the e-commerce website already has many plugins, runs ads, or tracks conversions with Google Tag Manager. In this case, how to set up a chatbox on a website needs conflict checks as well to avoid breaking forms, popups, or measurement events.

Signs that you should hand it over to technical support:
- The chatbox covers the purchase button, banner, or footer on mobile.
- You are not sure whether the code is being inserted through the theme, a plugin, or a management tag.
- The website uses cache, CDN, or minification, causing the script to appear and disappear intermittently.
- You need to connect the chatbox with CRM, chatbot, or a sales system.
A safe way to handle it is to disable one optimization plugin at a time, then reload the page in incognito mode to identify the cause. If the chatbox only appears after clearing the cache, the issue is most likely cache or JavaScript delay, not the chat code itself.
Frequently asked questions about how to set up a chatbox on a website
Setting up a chatbox on a website usually takes only a few minutes if you already have the right embed code or plugin, but errors often come from the code insertion location and website access permissions.
- Do you need to know code to install a chatbox? Not necessarily. On WordPress, you can install a chatbot on a WordPress website using a plugin or by pasting code into the header section. On a custom-coded website, you only need to insert the correct snippet into the `head` tag or before “ according to the chat system’s instructions.
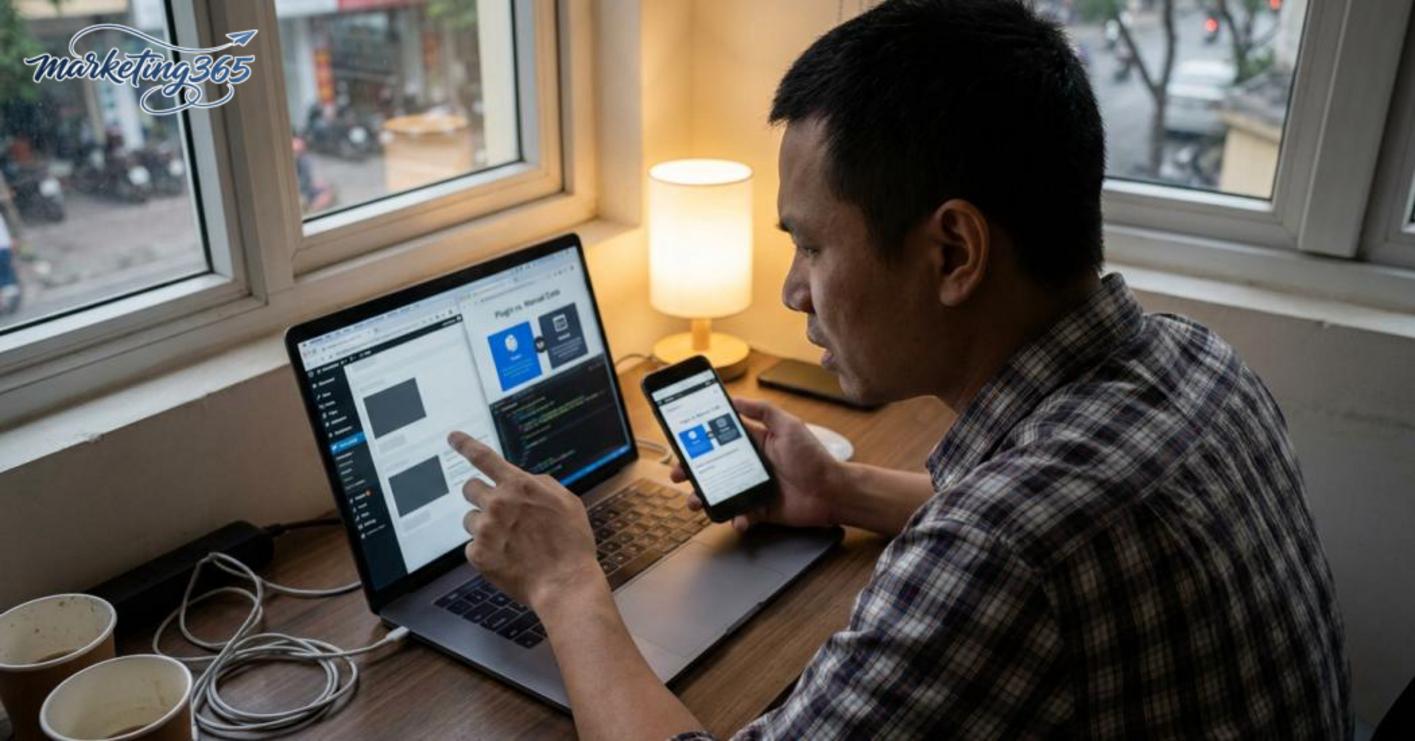
- Which is better: a plugin or manual code insertion? A plugin is easier when you need to add a website chat plugin quickly, especially on a WordPress site with many pages. Manual code insertion is better when you want control over display placement and less dependence on plugins. If the site has many heavy plugins, a lean code insertion usually causes fewer conflicts.
- Why does the chatbox not appear after installation? Common causes include inserting it in the wrong area, not clearing the cache, or the code being blocked by another script. Check whether the code is in `head` or before “, open the page in incognito mode, and temporarily disable optimization plugins if needed. For e-commerce websites, also check whether the chat is limited to certain pages.
- Can a chatbot be connected to an e-commerce website? Yes. The best approach is to connect the chat box to a basic Q&A flow such as products, shipping fees, business hours, and order status. If you only need canned replies, creating an auto-reply chat box on the website is enough; if you need deeper consultation, use a clear branching flow to avoid answering in the wrong context.
For the latest official guidance, you can also refer to WordPress.org Docs.
Related articles
- Comparison Between Canva Pro and Regular Canva
- Customer Feedback Collection Tools: How to Choose the Right One
- Collecting Customer Phone Numbers from Facebook: Risks and the Right Way
You can find more practical marketing guides at https://marketing365.vn.
Content from marketing365 is created for SMEs, online shop owners, and new marketers.
You can also read more articles on the same topic in the Martech Tools category.