
Contents
- What OpenClaw is and what to prepare before installing
- Is your machine ready: check system requirements and the installation environment
- Download OpenClaw and install it on Windows and macOS the easiest way
- Run OpenClaw for the first time and check whether it was installed correctly
- Initial setup to use it with marketing workflows
- How to handle installation errors and first-run errors
- Other installation methods and when to use them
- What to do after installation to use OpenClaw for AI work
- Frequently asked questions about how to install OpenClaw
If you need how to install OpenClaw to try it quickly in 10 minutes, this is the right kind of starter guide for marketers, online shop owners, and small agencies, with no DevOps background required. The goal is to download, install, run the first command, and check the first test run on both Windows and macOS. As you read, you can also quickly compare it with [What is OpenClaw](https://marketing365.vn/en/what-is-openclaw-ai-agent-platform/) and the [What is an AI agent](https://marketing365.vn/en/ai-agent-marketing-automation-2/) foundation to understand the context before getting started. Along with that, there is a cover image and an overview image of the installation flow so you can see it and do it right away.
What OpenClaw is and what to prepare before installing
OpenClaw is an AI tool that helps automate marketing work, and you should prepare your account, usage goals, and data access permissions before installing it.
For marketers, online shop owners, or small agencies, proper preparation helps you install faster and avoid errors from the start. For example, if you plan to use OpenClaw to write content or qualify leads, define your data sources in advance, such as Google Sheets, CRM, or signup forms.
What to prepare before installing OpenClaw
- Install Node.js version 22 or later in advance (Node 24 is recommended) — this is a mandatory requirement.
- Check that the device you are using has enough permission to install software or access the browser.
- Prepare login information for the tools you will connect, such as Gmail, Google Drive, or Meta Business Suite.
- Clearly define one first task to test, for example: create 10 caption samples, filter 50 leads from a form, or summarize 1 ad report.
A suitable preparation example for Vietnamese marketers
If you run ads for a cosmetics shop, prepare a Google Sheets file with customer names, phone numbers, lead sources, and order-closing status. Once installation is complete, you can test the first workflow right away instead of spending time re-entering data.

Signs you are ready to install
- You already have an AI model API key (Anthropic, OpenAI or Google), or you can run a local model with Ollama.
- You have at least 1 real data source to test with.
- You have a clear usage goal for one installation session.
- Someone holds access rights to the related platforms if you are working as a team.
If you already have the above elements, installing OpenClaw will be faster and less error-prone. For beginners, this is a way to reduce the risk of misconfiguration at the start.
Is your machine ready: check system requirements and the installation environment
Your machine is ready to install OpenClaw when the operating system is supported, CPU/RAM/SSD have basic free space, you have installation permissions, and the network is stable enough to download files. How to install openclaw will be less error-prone if you check each item before clicking install, because most issues happen during download, extraction, or permission granting.
Windows and macOS: what to check before downloading
On Windows, confirm that you have permission to run the installer, that SmartScreen is not blocking it by mistake, and that the Downloads folder is not restricted by antivirus software. On macOS, check whether the download source is trustworthy, whether the app is being blocked by security settings, and whether you have read the warning before clicking Allow. For the OpenClaw installation guide on Windows or How to install OpenClaw on macOS, continue only when the machine allows the installer to open properly and does not show permission errors.
- Check admin rights or permission to run applications.
- Check security warnings before allowing access.
- Check that the network is stable enough to download all files.
When you should review your machine before installing
If the machine is too slow, the disk is nearly full, there is no admin access, the network is unstable, or antivirus blocks the downloaded file, you should stop. These are common signs when preparing to install and are also frequent causes of errors when installing OpenClaw. Free up space, switch to a stable network, temporarily handle legitimate security blocks, and then continue installing.
Download OpenClaw and install it on Windows and macOS the easiest way
Downloading OpenClaw and installing the correct version on Windows or macOS usually takes only a few minutes if you follow the right order: download the appropriate installer, open the file, grant permissions when the operating system asks, and then check whether the app runs. For beginners, it is best to follow a simple flow first: after installation, you should be able to open the app or run the first command.
Installing on Windows: from downloading the file to opening the tool
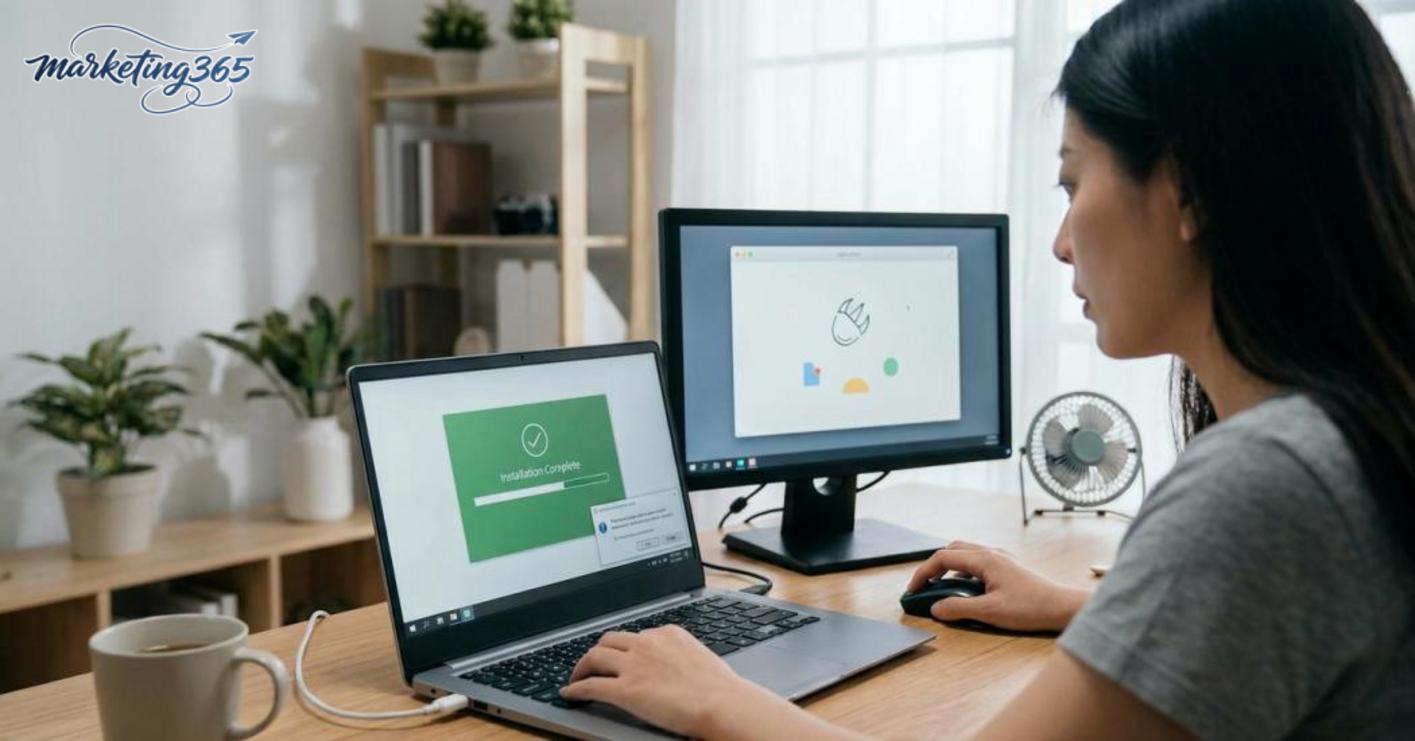
On Windows, the standard how to install OpenClaw method is to run the installer through PowerShell: open PowerShell and paste the command iwr -useb https://openclaw.ai/install.ps1 | iex. You can also run OpenClaw in WSL2 (Ubuntu) like on Linux, or use the included Windows Hub app. OpenClaw does not release a wizard-style .exe/.msi installer — it is a command-line tool that runs together with a Gateway and a web interface.
The steps to follow in order:
- Download the Windows version from the official installation source.
- Open the installer file you just downloaded, and do not rename it if you are not familiar with the process.
- If Windows asks for administrator permission, choose Allow/Yes to continue.
- Wait for the script to finish, reopen PowerShell/terminal so PATH updates, then type
openclawto start the Gateway.
A successful installation is when the OpenClaw window opens normally and there are no error dialogs about missing permissions or blocked files. If it is blocked, check again whether the downloaded file is the correct Windows version before running it again. The image should be placed in this section: the download button and the completed installation screen.
Installing on macOS: grant permissions and complete setup
On macOS, how to install OpenClaw is to run the install command in Terminal: curl -fsSL https://openclaw.ai/install.sh | bash (or install via npm: npm install -g openclaw). OpenClaw does not release a .dmg/.pkg file to drag into Applications — this is a command-line tool, not a drag-and-drop app. Make sure you already have Node.js 22+ before installing.
Follow these 3 steps to avoid errors:
- Run the command
curl -fsSL https://openclaw.ai/install.sh | bashin Terminal. - After installation, type
openclawto run it; the first time, you need to pair the device through the Gateway web interface. - If it is blocked, go to Security & Privacy and choose to open the app anyway.
When you run OpenClaw for the first time, if you see the main interface or the initialization screen, the installation is complete. If it still does not open, check again whether the downloaded file is the correct macOS version and whether it has been granted permission to open.
Run OpenClaw for the first time and check whether it was installed correctly
Running OpenClaw for the first time is the verification step to see whether the app opens correctly, reaches the startup screen or Web UI, and can move on to OpenClaw onboarding. By checking just a few signs, you can tell whether how to install openclaw was successful or whether you need to go back to the installation step.
Signs that the installation was successful
An installation is successful when the app opens normally, does not report missing files, does not report the wrong version, and shows the startup interface or Gateway/Web UI. On a correctly installed machine, you usually see a short loading screen before moving to the initial setup step; if there is no red error warning, that is a good sign.
Quick checklist:
- Open the app or run the startup command according to the method you used to install it.
- See whether a UI window or internal web page appears.
- Check whether there is an onboarding screen or the first configuration step.
- If the interface stays still for a few dozen seconds but shows no error, wait a bit longer and then reload.
If it still will not run, what should you check first
When an error when installing OpenClaw appears, start from the easiest checks and move to the harder ones. First, see whether the downloaded file is complete and matches the operating system. Then check file execution permissions, especially on macOS or Linux/Ubuntu. Next, see whether the machine still has network access to download supporting components, and then read the last error log line on the screen.

The order of handling should be:
- Check that the installer file finished downloading and is the correct version.
- Run it again with the proper permissions.
- Close the app and open it again.
- If it still errors, look at the last error line before restarting.
If you still cannot get into the interface after a few tries, go back to the initial installation step to fix the error when installing OpenClaw instead of trying to adjust complex settings right away.
Initial setup to use it with marketing workflows
Setting it up correctly the first time helps the tool run marketing workflows right from the first test run. The goal is to keep the configuration minimal, check the output quickly, and then expand to more complex integrations.
File configuration and what beginners should edit
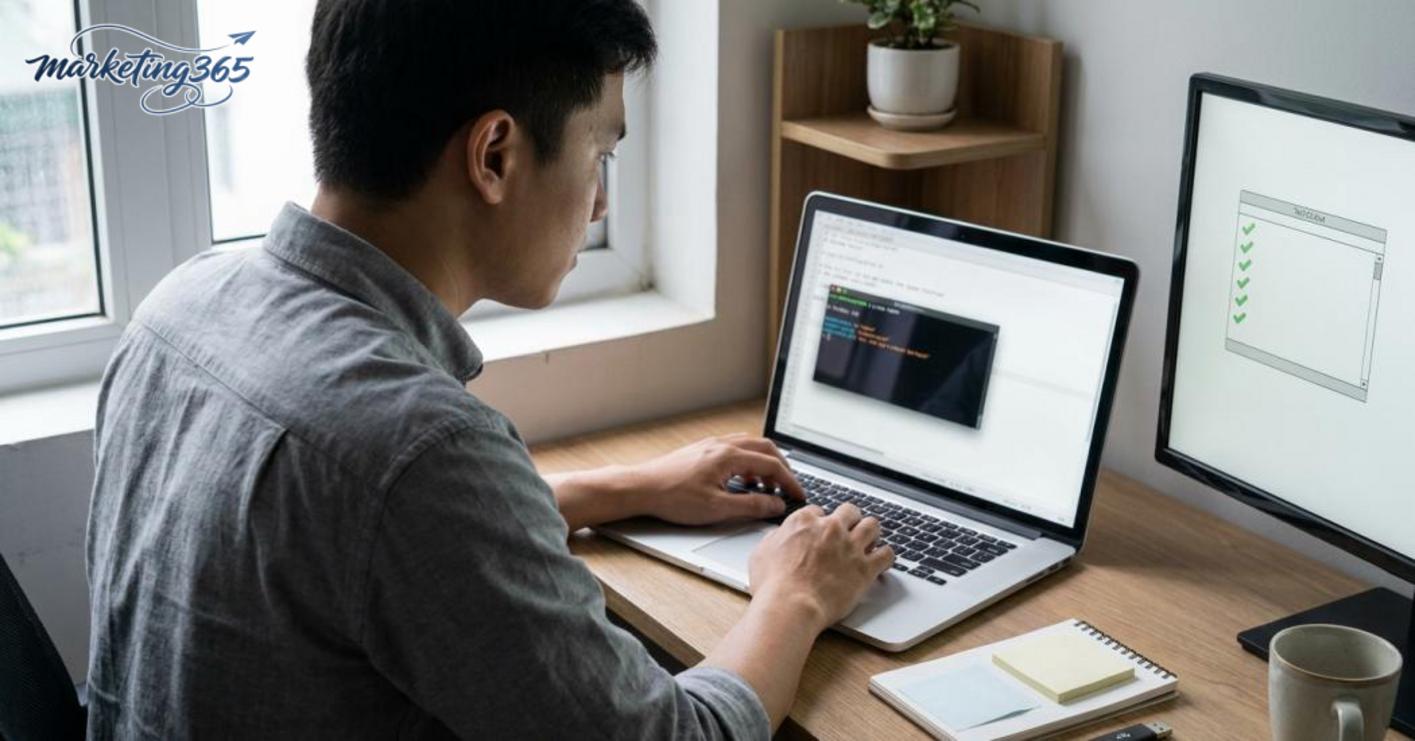
The OpenClaw config file is where you enter basic information so the tool knows which environment to run in and where to get data. When onboarding OpenClaw for the first time, only edit the required fields such as workspace name, input/output paths, and basic connection settings; advanced parameters should be left at their defaults to avoid breaking the first run.
If the configuration file has a separate section for the gateway or Web UI, just check whether it points to the correct port and folder. For beginners, the safest way is to open the file, change only the necessary lines, save it, and then run once to see whether the system accepts the configuration. A very common mistake is changing too many parameters at once, and then when the workflow fails, you do not know where the cause is.
Quick checklist:
- Only adjust the parts related to the data source and where results are received.
- Keep the default values for technical parameters you do not fully understand.
- Save the file and reopen it to make sure the configuration has no syntax errors.
Basic settings to run a first workflow test
The first OpenClaw setup should start with a very simple first workflow, for example a flow that reads data, processes it briefly, and outputs a test result. How to install openclaw becomes much more useful if you can run a small task before thinking about Telegram, Discord, or deeper automation steps.
Read more: openclaw vs Cursor: Which Tool Fits You Best
Steps to follow:
- Run OpenClaw with the configuration you just edited.
- Send a sample input, such as a short content file or a test task.
- See whether the output matches the expected format.
- If there is an error, read the message at the exact step where it occurs instead of making broad changes across the system.
When the workflow finishes but the result is in the wrong format, it is usually because the input mapping is incorrect or the config file points to the wrong path. With AI tool installation for developers, the principle is to get the minimum version working first, then add marketing automation layers later.
How to handle installation errors and first-run errors
This section is where you quickly troubleshoot when how to install OpenClaw gets stuck at the beginning. The most effective way to handle it is to follow this order: check whether the command runs, then check for pairing required or gateway token missing errors, and only then review the initial configuration again.
Cannot find openclaw or the command does not run
This error often appears right after installation, but the terminal says it does not recognize the `openclaw` command. For beginners, when how to install OpenClaw is done and this happens, it is usually because the package was not installed correctly, the command-line window was not reopened, or the folder containing the command was not added to the environment variable.

The handling order is:
- Re-enter the installation command to make sure the package was installed correctly.
- Close the terminal/Command Prompt and open it again, because many operating systems only recognize environment variables after a new session starts.
- Check the command path; if you installed globally and it still fails, try calling it with the full path in the installation folder.
- If the machine uses environment variables, check whether PATH points to the folder containing the executable.
In a typical support case, simply reopening the terminal and checking PATH is enough for the command to work, with no need to reinstall from scratch.
How to handle pairing required or gateway token missing errors
These two errors usually appear right at first startup and indicate that the initial setup has not been completed. The easy-to-spot signs are that the screen stops at a pairing request, or the system reports a missing gateway token instead of entering the working interface.
Quick fixes:
- Go back to the onboarding step and confirm that all initial configuration information has been completed.
- Check the OpenClaw Gateway and Web UI setup again if you skipped any step earlier.
- Review whether the token, pairing code, or configuration data was saved correctly.
- If you just changed the configuration and it still errors, restart the process to load the new settings.
If the error repeats many times, the cause is usually a mismatch in the initial configuration rather than an OpenClaw installation error. In that case, check each entered field again, then restart from the first setup step instead of trying repeatedly by guesswork.
Other installation methods and when to use them
Installing OpenClaw using alternative methods should only be done when your environment is suitable; most beginners should still use the basic installation method to reduce errors. For marketers or shop owners, choosing the wrong installation method often wastes time during the initial configuration step more than during installation itself.
Install with a script or with npm: which is the better choice
Installing OpenClaw with the install.sh script is suitable when you want a quick setup on a machine you are already comfortable using in the terminal, while npm install -g openclaw is more suitable if you already have a stable Node.js setup. If you are a beginner, how to install OpenClaw with a script is usually easier to follow because there are fewer steps; if your machine already uses many Node projects, npm is cleaner, but you need to check write permissions and the Node version first.

- Choose the script when you need step-by-step guidance with fewer environment dependencies.
- Choose npm when the machine already has a stable Node setup and you want a one-time global install.
- Avoid npm if you are not sure how Node, npm, or admin permissions are configured.
For example, a Windows machine used to run several internal marketing tools is often better suited to the script. By contrast, a personal laptop used by someone familiar with development usually runs npm more cleanly.
When you should go back to the default installation method
OpenClaw installation should go back to the default method when you only need a quick test, you are not sure what is already on the machine, or the advanced method throws an error at the beginning. For the openclaw setup guide, the default method is usually the safest path to determine whether the problem is with the machine or with the installation method.
- Use the default method when you need to finish in a single test installation.
- Go back to the default method when the script stops at file execution permissions or npm reports an environment error.
- Choose the basic method again if you do not know whether to fix Node, the shell, or environment variables.
A very clear sign is that you have to change many things beyond the installation itself, such as execution permissions, paths, or dependency versions. In that case, returning to the basic installation method reduces risk and makes it easier to compare with the OpenClaw installation documentation.
What to do after installation to use OpenClaw for AI work
After installation, the next step is to confirm that OpenClaw runs smoothly, then connect it to a real AI workflow. For beginners, follow this order: understand what an AI agent is, open the Gateway or Web UI to check the initial configuration, and only then connect a control channel such as Telegram when you need to handle tasks remotely.
Quick checklist to avoid getting stuck at the first step:
- Open the control interface and check whether the service status has started.
- Confirm that the environment variables, access port, and run permissions are the same as during setup.
- Try a small task, such as sending a test command through the Web UI before adding a chat channel.
- If your goal is marketing use, try a simple flow such as content scheduling reminders, lead filtering, or summarizing customer feedback.
How to install OpenClaw is only truly useful when it becomes part of your workflow. Users often stop after installation because they do not know how to expand it; in reality, you should start from the foundation and then gradually increase complexity.
What to read next after installation
If you want to move from installation to real use, the three priorities are What is OpenClaw, What is an AI agent, and how to connect OpenClaw with Telegram or other control channels. This sequence helps you understand how the system works, what the core is, and what the extensions are.

Once you understand the concept, it becomes easier to decide whether to use the Gateway or the Web UI for each task, instead of trying randomly and wasting time adjusting later. For marketers, this approach is usually more effective than jumping straight into multi-channel integrations at once.
Frequently asked questions about how to install OpenClaw
You can install OpenClaw on either Windows or macOS. Choose the machine you use for daily work to reduce access permission errors and avoid having to change your operating habits.
If you are not sure where to start, follow these 3 steps:
- Download the installer for the correct operating system from the official OpenClaw website.
- Run the installer with administrator privileges if the operating system asks for them.
- Open the app and check the login screen, main interface, or startup log within the first minute.
If it is installed but will not open, handle it in this order: fully close any stuck process in Task Manager or Activity Monitor; reopen it with admin rights; check antivirus and the write permissions of the installation folder; then look at the startup error log to see which component is missing. On a marketing team’s Windows machine, a white screen freeze is often caused by a port conflict or an incomplete installation file.
You should configure it right after installation, but only configure the minimum. Set the language, data storage folder, and account or workspace first. For example, a small agency can create separate workspaces for the content team and the ads team to avoid data confusion at the beginning.
If the app opens inconsistently, the Web UI is blank, or it reports missing components on the first run, stop configuring and reinstall cleanly. Do not keep clicking through more settings, because platform-level errors will stack on top of each other.
Quick checklist for beginners:
- Install the correct operating system version.
- Open it with the proper permissions.
- Check the log as soon as an error appears.
- Only configure the basic settings first.
- Reinstall cleanly when you see platform-level errors.
For a Vietnamese marketer, this is usually enough to check whether OpenClaw runs properly on a personal machine before bringing it into a team workflow. If the machine can open the main interface and shows no platform errors, you can then move on to deeper configuration.
For the latest official guidance, you can refer to the official documentation at docs.openclaw.ai.
Related articles
- How Much Does the OpenAI API Cost? How to Calculate Costs Correctly
- How to Write Effective ChatGPT Prompts for Marketers
- ChatGPT vs Gemini: Choosing the Right AI Tool for Marketing
Content from marketing365 is built for SMEs, online shop owners, and new marketers.
You can also read more articles on the same topic in the AI Guide category.
Updated: June 2026. AI tools change quickly — please refer to the provider’s official documentation for the latest information.