
Contents
- Required internal link to insert in the introduction
- Prepare the VPS and domain before installing n8n
- Choose the right way to install n8n: Node.js or Docker
- Install n8n on Ubuntu or Debian VPS step by step
- Connect n8n with Nginx, domain, and HTTPS
- Keep n8n running and reduce errors when the VPS restarts
- Run your first workflow and check whether n8n is ready for marketing
- Common errors when installing n8n on a VPS and how to fix them in priority order
- When should you self-host n8n on a VPS, and when should you consider cloud?
- Frequently asked questions about how to install n8n on a VPS
- Suggested images for the article
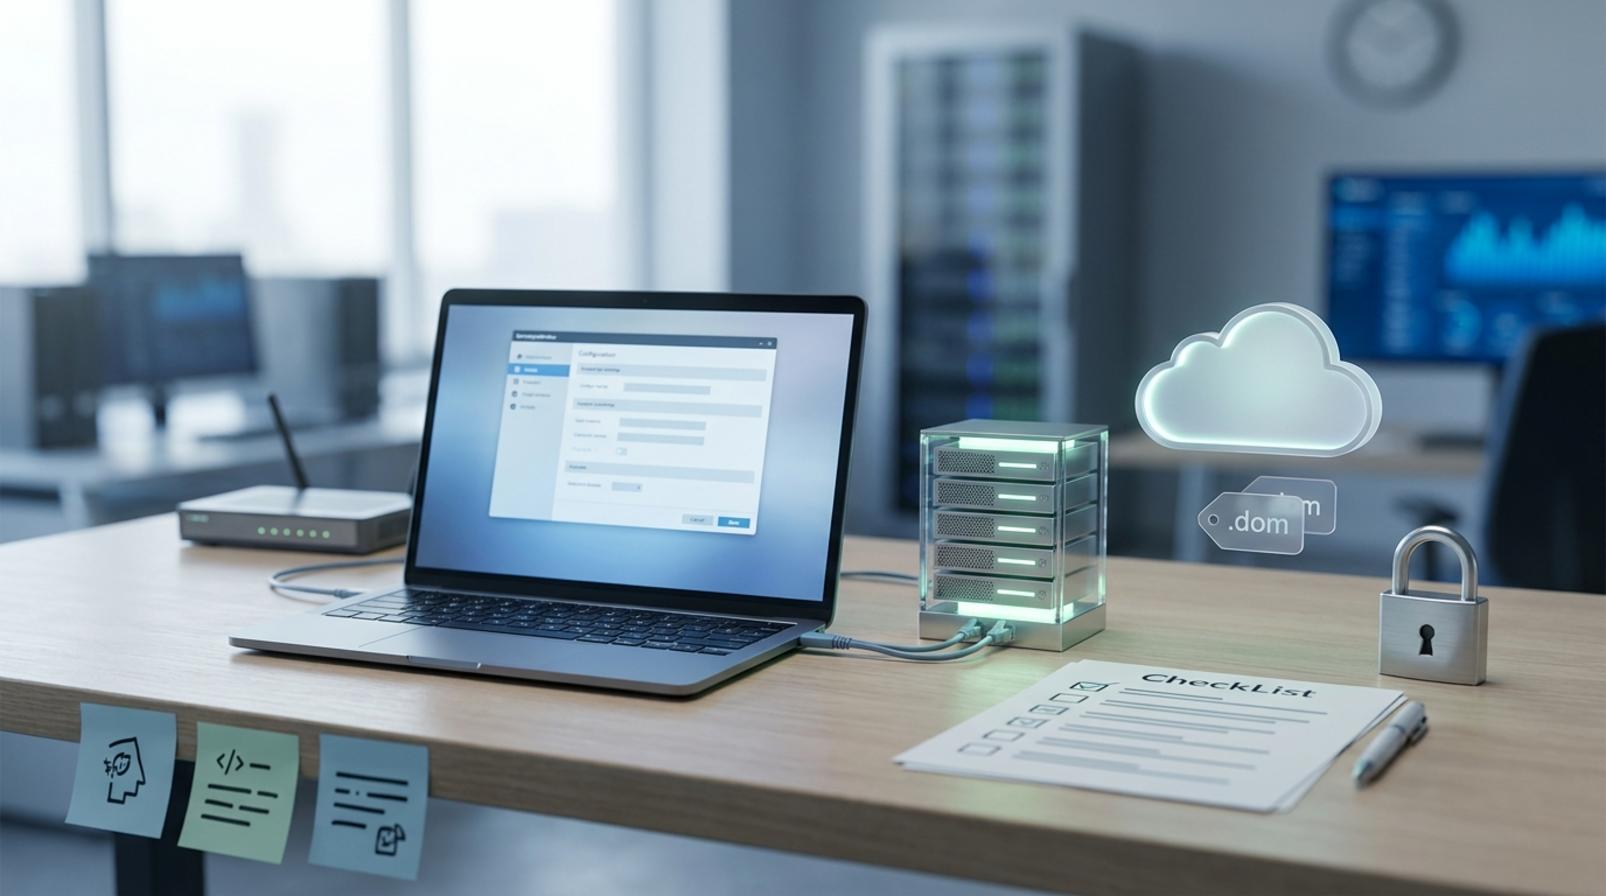
If you want to self-install n8n on a VPS to run internal workflows, automate reporting, or connect marketing tools, this is exactly the scope you need to read. How to install n8n on a VPS is the right choice when you need full control over your data, want to use your own domain, and keep the system stable over the long term. For quick testing, the cloud version may be more convenient.
Before you begin, prepare a VPS with enough RAM, a domain, SSH access, and an HTTPS certificate. For example, a small marketing team in Vietnam often needs n8n to receive leads from forms, push them into Google Sheets, and then send reports via email or Zalo. Without HTTPS, webhooks can easily fail and browsers may block the connection.
In this section, you will go through the preparation steps, choose a VPS, configure the basics, and get your first workflow running as a beginner.
Required internal link to insert in the introduction
How to install n8n on a VPS is the standard process for self-hosting the automation tool on your own server and accessing it through your own domain. If you need the foundation first, you can see what n8n is and what an AI Agent is to understand the role of each layer in the system.
For marketers, online store owners, or small agencies, the introduction should immediately lock in three things: prepare the VPS and domain, choose the right deployment method, and identify the common failure points early. A minimal setup usually requires a Linux VPS, DNS editing access, and a plan to access it via a custom domain; miss one step, and you may end up using a temporary IP or running into errors when opening the interface.
In practice, how to install n8n on a VPS usually follows two paths: using Docker for a compact deployment, or installing n8n with Node.js and npm on the VPS if you want deeper control. After that come the commonly overlooked parts such as configuring Nginx reverse proxy for n8n on a VPS, setting up SSL Certbot for n8n on a VPS, and handling errors when running n8n on a Linux VPS.

If the goal is to run it stably over the long term, check first whether the domain points to the correct DNS, whether ports 80/443 are open, and whether n8n is ready to run after the machine restarts.
Prepare the VPS and domain before installing n8n
Preparing the VPS and domain for n8n installation is the step where you verify the minimum requirements before running the install commands. Doing this correctly reduces installation errors, avoids underpowered machines, and lets you access n8n through your own domain from the start.
What does a minimum VPS need to run smoothly?
A minimum VPS should have Ubuntu 22.04 or Debian 12, 1 CPU, 2 GB RAM, and about 20 GB of free storage to run basic workflows smoothly. If you plan to install Nginx, SSL, and keep n8n running in the background long term, 2 GB RAM is safer than 1 GB.
Quick checklist:
- Have root or sudo access.
- SSH login works with a key or password.
- There is enough free space for Docker, logs, and workflow data.
- If the VPS only has 1 GB RAM, pause and upgrade first, especially if you plan to run self-hosted n8n on a separate VPS alongside other services.
A sign that the VPS is too weak is a sudden CPU spike when opening a few workflows, slow service responses, or containers constantly restarting after installation. For n8n installation on Ubuntu VPS or Debian VPS, do not keep going if the machine is already hitting resource limits from the start.
How should the domain, DNS, and access permissions be ready?
A custom domain makes it more stable to access the n8n interface through a custom domain on a VPS than by IP, and it is also more convenient when enabling n8n SSL HTTPS later. You should prepare a domain or subdomain such as automation.yourdomain.com, then point an A record to the VPS public IP.

Things to do before installing:
- Check that the A record points to the correct public IP.
- Wait for DNS propagation to complete; you can usually check again after a few minutes to a few hours.
- Make sure you can SSH into the VPS from your machine.
- Confirm that ports 80 and 443 can be opened on the firewall or security group.
If DNS is not pointing correctly, continuing with the installation will likely cause issues with reverse proxy and SSL Certbot for n8n on a VPS. This is the stage to stop, fix DNS first, and then begin installation.
Choose the right way to install n8n: Node.js or Docker
How to install n8n on a VPS usually has two common approaches: installing with Node.js and PM2, or running it with Docker Compose. For beginners in marketing or small teams, choosing the right path from the start will save time troubleshooting, make backups easier, and simplify scaling as workflows grow.
| Criteria | Node.js + PM2 | Docker Compose |
|---|---|---|
| Ease of getting started | Easier if you are used to SSH and installing packages one by one | Easier if you already have a compose file |
| Troubleshooting | Easier to debug step by step, logs are clearer | Cleaner, but you need to understand volumes, ports, and env |
| Scalability | Good for the early stage | Better service separation, faster rebuilds |
| Ability to stay running | PM2 keeps the process alive | Docker manages containers based on configuration |
| When to choose | You want to understand the runtime flow and keep components minimal | You want a consistent environment and easy replication |
When is Node.js and PM2 the right choice?
Installing n8n with Node.js and npm on a VPS is suitable when you want to work directly, with fewer layers in between, and clearly see how n8n is running. This approach fits beginners who are somewhat comfortable with the terminal, or when you need to fix issues quickly because the process logs are fairly clear.
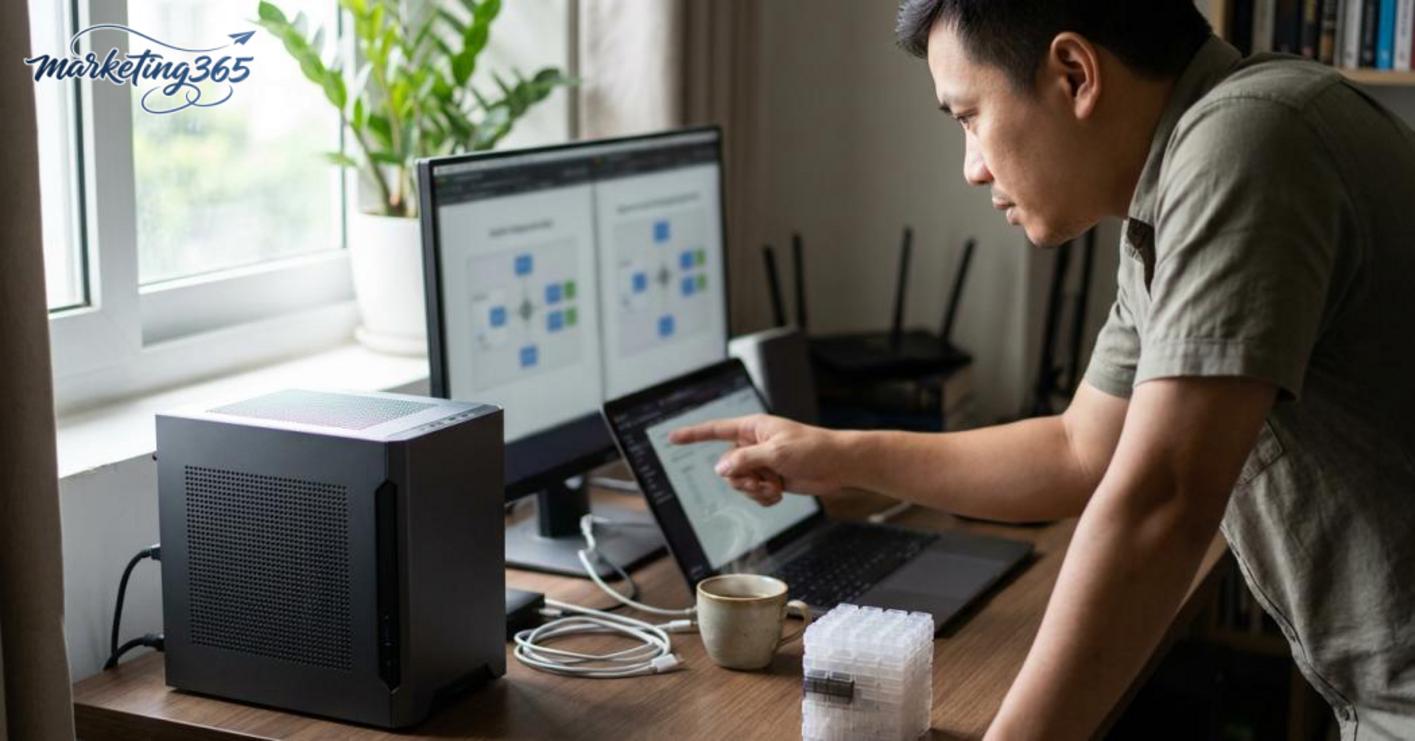
For example, a small marketing team that only needs a few workflows to capture leads, send notifications, and sync sheets can simply install Node.js and use PM2 to keep n8n running on the VPS. PM2 keeps the process running in the background and restarts it automatically when the VPS reboots, so you do not have to start it manually after every maintenance window.
When is Docker Compose the better option?
Docker Compose makes more sense when you want a compact setup, easy environment rebuilds, and clear service separation. This approach is often more convenient if you are already familiar with compose files, want fast backup/restore, or need to combine n8n with a database, reverse proxy, and other services under the same configuration set.
In a guide to installing n8n with Docker on a VPS, beginners still need a basic understanding of volumes, ports, and environment variables to avoid data loss or pointing to the wrong port. If you already have a standard n8n docker compose setup, moving to a new VPS is usually easier than manually installing each package. When you need to access it through a custom domain and place it behind an n8n nginx reverse proxy, Docker also makes the configuration more modular.
Install n8n on Ubuntu or Debian VPS step by step
Installing n8n on an Ubuntu or Debian VPS step by step starts with cleaning up the system, then installing the base packages, n8n, and checking the first run. Following the correct order reduces errors from missing libraries, wrong sudo permissions, or services that fail to start during the initial VPS setup.
Update the system and install base packages before installing n8n
Updating the operating system before installing n8n helps avoid errors caused by outdated packages and missing basic tools. On a new Ubuntu or Debian VPS, log in with a user that has sudo privileges, run `sudo apt update && sudo apt upgrade -y`, then install `curl` and `git` if they are not already present.
- Check sudo access with `sudo -v`.
- Update the system with `sudo apt update && sudo apt upgrade -y`.
- Install the required base packages: `sudo apt install curl git -y`.
- If the machine reports low disk space or repository errors, stop and fix them first; do not force the installation.
In how to install n8n on a VPS on Ubuntu, this is often the most overlooked step. If the VPS is too old or newly created, simply forgetting to update can easily lead to dependency errors when installing Node.js or Docker.
Set up n8n and check the first run
Once n8n is set up, you need to immediately check whether the process is actually running, rather than just assuming the install command succeeded. With a self-hosted n8n setup on a separate VPS, keep one deployment path throughout, configure the minimum environment variables, then open the internal port or default port to test access via `localhost` or the VPS IP.
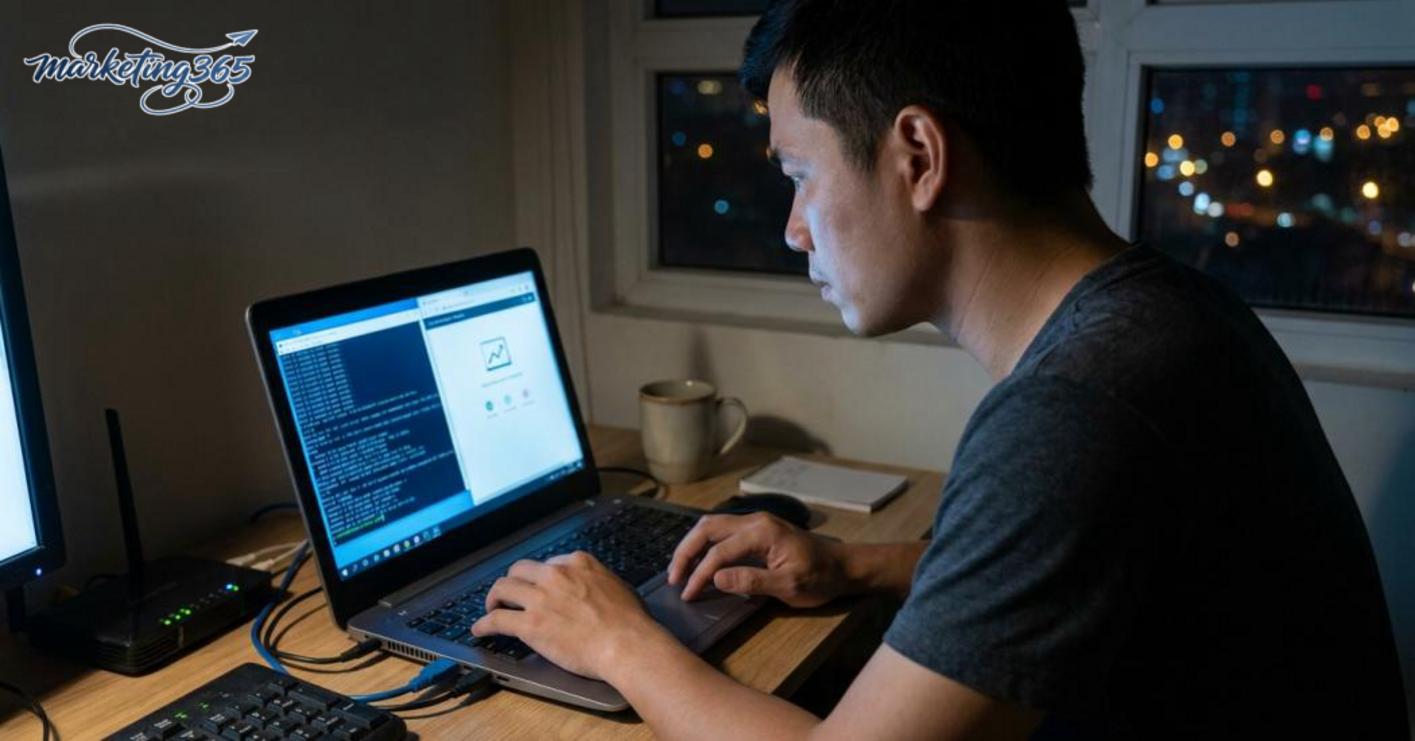
- Install using the chosen method: Node.js and npm or Docker, but do not mix both on the same VPS if you are a beginner.
- Start n8n and watch the startup logs; when the service is alive, the logs will reach a ready-to-accept-connections state.
- Open a browser at `http://IP_VPS:5678` or test locally with `curl http://localhost:5678`.
- If the page does not open, check whether the port is listening and whether the service is still running or has stopped.
Success looks like the n8n interface appears and responds when you try to access it. If you cannot get in, it is usually because the service is not running, the port is blocked by a firewall, or the environment configuration is incorrect.
Connect n8n with Nginx, domain, and HTTPS
Read more: How to Install n8n: Cloud, npm, and Docker Options
Connecting n8n with Nginx, a domain, and HTTPS helps the system run stably, be accessed through a custom domain, and stay safer in real use. With how to install n8n on a VPS, you should place Nginx in front of n8n to hide the internal port, make SSL easier to enable, and reduce errors when opening the interface or calling webhooks.
Before pointing the domain, let n8n run on an internal port such as 5678, while Nginx receives external traffic on 80 and 443. Then configure the reverse proxy so the domain forwards requests to the correct service, and only after that issue the SSL certificate and check the HTTP-to-HTTPS redirect. If the firewall blocks or closes ports 80/443, Certbot often fails validation or the browser cannot open the page.
Why should n8n run behind a reverse proxy?
A reverse proxy keeps n8n from exposing its internal port to the Internet and makes it easier to attach a custom domain. When self-hosting n8n on a separate VPS, Nginx also acts as the middle layer to handle HTTPS, compression, and more stable request forwarding for both the interface and webhooks.
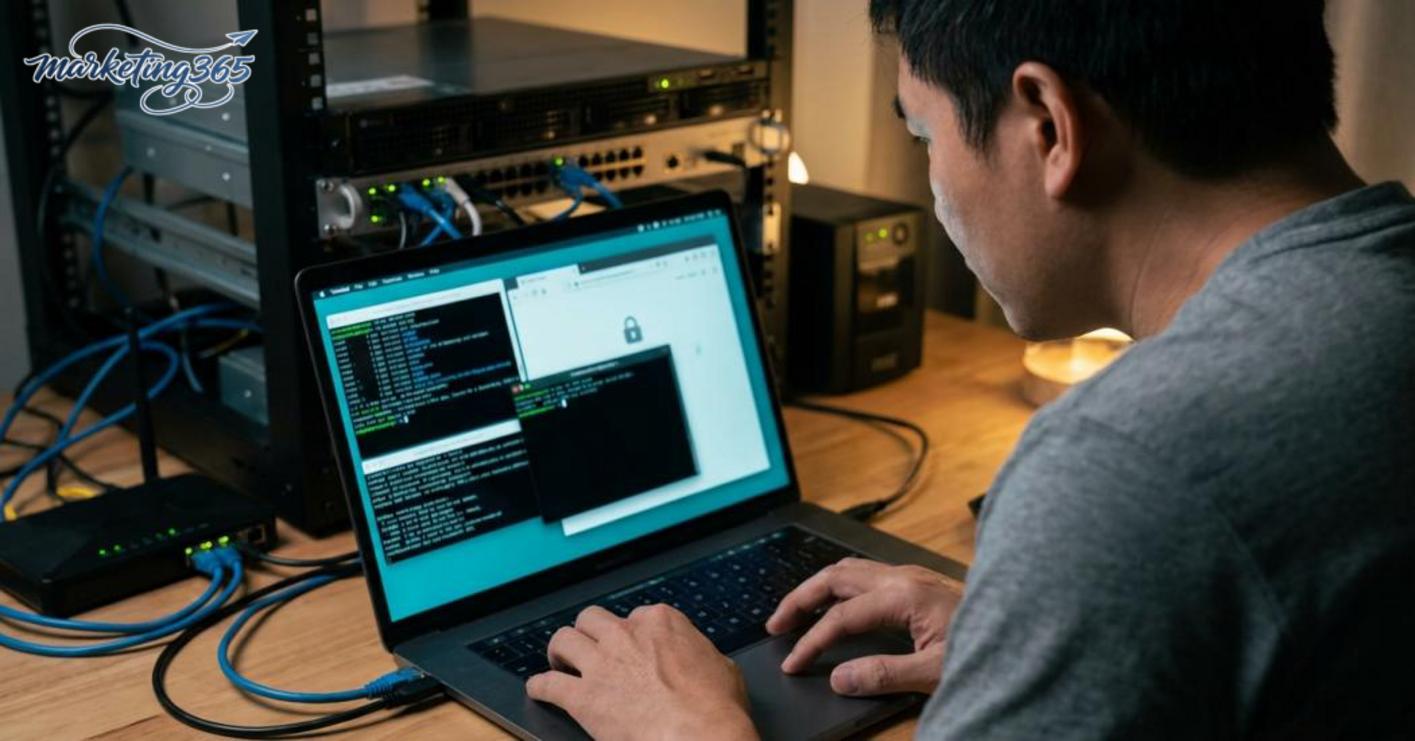
The practical approach is to keep n8n running locally while Nginx receives traffic from the domain and forwards it to `127.0.0.1:5678`. If you later change the application port, you only need to edit one place in Nginx instead of changing every access link. This is the Nginx reverse proxy setup for n8n on a VPS commonly used when you want to access the n8n interface through a custom domain on a VPS.
Issue SSL and verify HTTPS works correctly
SSL for n8n should be enabled as soon as the domain points correctly, because HTTPS is required for login, webhooks, and cookies to work reliably. Setting up SSL Certbot for n8n on a VPS should include a redirect from HTTP to HTTPS, so users who visit `http://domain` are automatically sent to `https://domain`.
Check in this order:
- Open the correct domain in the browser and see whether there is a lock icon.
- Type both `http://domain` and `https://domain` to confirm the redirect works.
- Check that the displayed URL is the correct official domain and no longer points to the IP or localhost by mistake.
- If login fails or webhooks do not receive callbacks, recheck ports 80/443, the firewall, and the `proxy_set_header` configuration in Nginx.
A common issue when using n8n SSL HTTPS is that the page opens, but callbacks fail because the public domain and internal URL do not match.
Keep n8n running and reduce errors when the VPS restarts
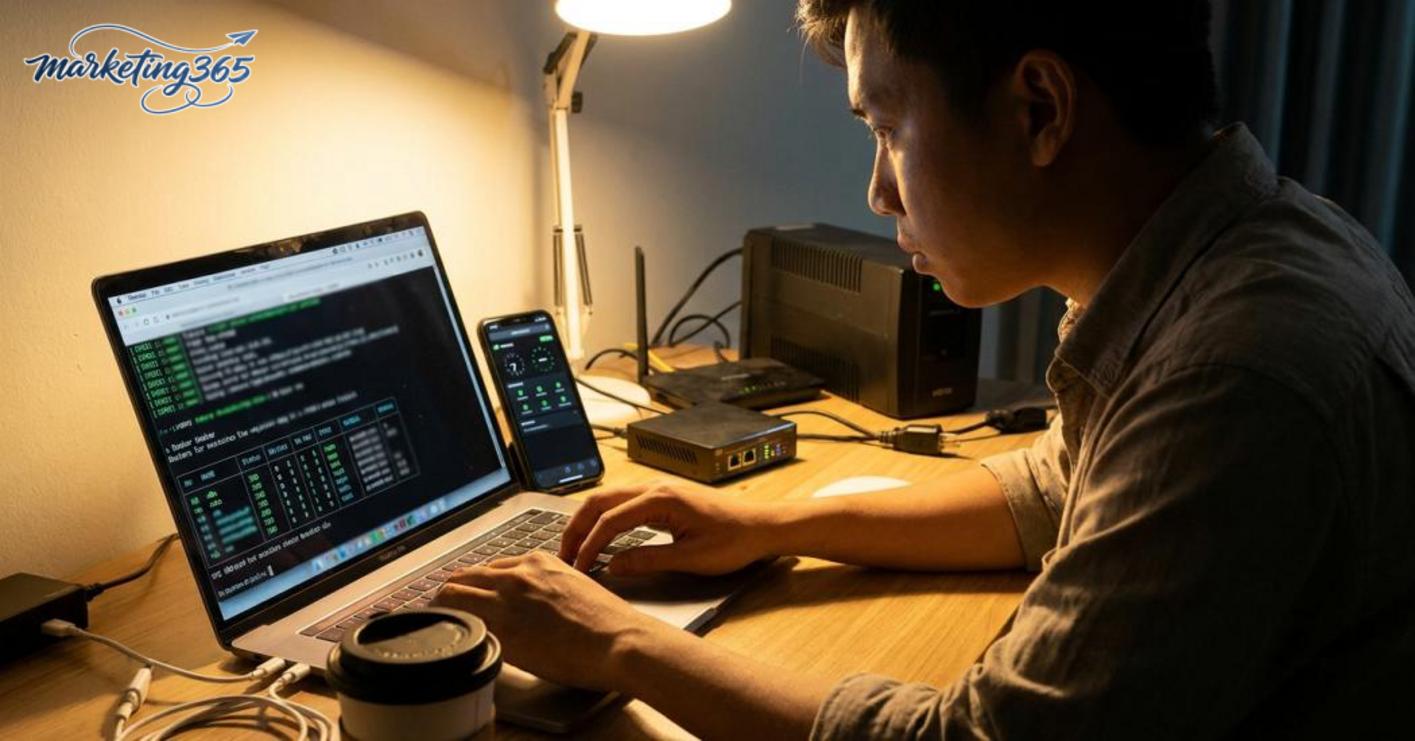
When installing n8n on a VPS, the goal is for the system to restart automatically after logout or reboot without needing to keep SSH open all the time. The method depends on your deployment: Node.js usually uses PM2 to keep the process alive, while Docker relies on the container restart policy.
Configure PM2 so n8n restarts automatically
PM2 is a good fit when you run n8n with Node.js and want to avoid the “close SSH and n8n stops” situation. Setting up pm2 should include two things: saving the process list and creating a startup script.
- Start n8n with PM2 instead of running it manually in the terminal.
- Save the process list so the machine knows what to bring back after a reboot.
- Create a startup script and then check the service status after boot.
If you are seeing errors when running n8n on a Linux VPS, check the environment variables, folder permissions, and the start command in PM2. A common case is that the app starts for a while and then stops because an ENV is missing or the data path is wrong.
If you use Docker, how do you check the auto-start mechanism?
With n8n docker compose, the container can come back up automatically if the restart policy is configured correctly. The key distinction is between a VPS reboot and a container restart; if the server shuts down, the container will only restart automatically when the Docker daemon starts with the system.
- Set an appropriate restart policy so the container does not stop after a brief issue.
- Check that the container comes back up after reboot by confirming its running status.
- Review the logs if the container keeps restarting to catch configuration errors or missing environment variables.
Quick checklist: after closing SSH, n8n is still accessible; after rebooting the VPS, the service comes back up automatically; and the logs do not show a continuous restart loop. If any of these three steps fail, fix the auto-start mechanism before attaching a domain or SSL.
Run your first workflow and check whether n8n is ready for marketing
Running your first workflow is the fastest way to know whether n8n is ready for marketing use. The goal is not to build a complex automation, but to verify the trigger, action, data flow, and logs without errors.
Simple workflow ideas for marketers
A first workflow should start with a lead or with information that needs to be pushed somewhere immediately. With how to install n8n on a VPS, you can choose three practical tests: receive a signup form and save it to a spreadsheet, receive a webhook from a landing page and send an internal notification, or create a reminder when a new order comes in. These flows are simple enough to test webhooks, data connections, and actions at the same time.

Checklist to follow in order:
- Create a trigger such as Webhook or Form.
- Add a simple action such as sending an internal message or writing data.
- Run a test with a sample record.
- Open the execution log to see which node failed if the workflow stops midway.
If you are self-hosting n8n on Linux, prioritize flows with a clear URL so it is easier to confirm that the request reached the system. For example, a lead form from a landing page should create a record and not lose important fields such as name, phone number, or traffic source. This is the basis for evaluating n8n self-hosted vs cloud from a real usage perspective, not just by feeling.
How do you check whether n8n is ready for marketing?
n8n is ready for marketing when a workflow runs from start to finish, data moves through the correct steps, the webhook receives the request, and the result matches the original goal. If the trigger fires but the action does not run, or the log reports an error in a specific node, you should not put it into the main process yet.
Quick check:
- Click test trigger and send sample data.
- Check the execution log to see whether the error is in the trigger or the action.
- Compare the output record with the input data.
- Run it again once with real data, not just fake data.
A marketing AI workflow is only worth using when it reduces repetitive work, such as automatically notifying the sales team about new leads or saving orders to a sheet without manual entry.
Common errors when installing n8n on a VPS and how to fix them in priority order
When how to install n8n on a VPS runs into errors, isolate the issue in this order: is the service still running, are the ports open, is DNS pointing correctly, is Nginx misconfigured, and only then check SSL and deeper logs. This approach helps you avoid fixing the wrong thing and saves time when troubleshooting errors while running n8n on a Linux VPS.
Cannot access n8n after installation
This error is usually caused by the service not running, a blocked port, or the domain not pointing correctly. With how to install n8n on a VPS on Ubuntu, test in this order:
- Run `systemctl status n8n` or check the Docker process to see whether n8n is still alive.
- Open `http://IP_VPS:5678` to rule out domain issues.
- Check whether port 5678 is listening with `ss -tulpn | grep 5678`.
- If using a domain, check whether the A/AAAA record points to the VPS IP.
- If going through Nginx, check whether the config file has a syntax error or the upstream points to the wrong port.
A very common case is that n8n is still running, but the reverse proxy points to the wrong port, so the internal IP opens while the domain shows a blank page. In that case, fixing the upstream and reloading Nginx solves it; if the service stops on its own, check the logs for missing environment variables or folder permissions.

Domain or HTTPS error, but the page still says it is not secure
Read more: How to Install OpenClaw for Beginners
This error is usually caused by the certificate, redirect, or proxy headers being wrong, which prevents n8n SSL HTTPS from being trusted by the browser. Check in this order:
- Confirm that the domain in the browser matches the certificate issued by Certbot.
- Open `http://domain` and see whether it automatically redirects to `https://`.
- Check whether the Nginx reverse proxy for n8n on the VPS sends the correct `X-Forwarded-Proto`, `Host`, and `X-Forwarded-For` headers.
- See whether Certbot is still valid or has expired.
- If it still says not secure, check for mixed content or an incorrect URL configuration in the environment variables.
For this issue, fixing the proxy configuration correctly is usually more effective than reinstalling everything. When the domain matches the certificate but the page still shows a warning, the cause is often a missing redirect layer or incorrect proxy headers.
When should you self-host n8n on a VPS, and when should you consider cloud?
Self-hosting n8n on a VPS is suitable when you need to keep data on your own server, want full control over the configuration, and have someone who can handle basic operations. Cloud is suitable when the goal is to get running quickly without dealing much with SSL, proxy, or system updates. For a small marketing team, the decision often comes down to maintenance time rather than upfront cost.
| Criteria | Self-host n8n on a private VPS | Cloud |
|---|---|---|
| Data control | High | Lower |
| Operational effort | You handle it yourself | Lighter |
| Deployment speed | Slower | Faster |
| Suitable for beginners | Only if you know basic Linux | More suitable |
Who should choose self-hosting on a VPS?
Self-hosting n8n on a private VPS is a good fit for people who need their data to stay on their own server and are willing to manage it themselves. If you are already familiar with how to install n8n on a VPS on Ubuntu, know how to configure Nginx reverse proxy for n8n on a VPS, and can handle SSL Certbot for n8n on a VPS, this approach will be more cost-effective when workflows run long term.
Signs it is a good fit:
- Someone knows how to self-host n8n on Linux and read logs when errors occur.
- You need to separate customer data, orders, and leads from external platforms.
- You want to learn deeply so you can expand automation flows later.
Who should consider cloud first?
Cloud is worth considering if you are not familiar with VPSs, do not want to handle SSL/proxy yourself, or need to get running quickly to test a marketing workflow. For beginners, self-hosting n8n on a private VPS often adds more time spent fixing configuration issues than immediate benefits.
Choose cloud first when:
- It is a small team that only needs a few basic workflows.
- There is no one to monitor system updates or backups.
- You want to test an idea first and do not need infrastructure optimization yet.
If the goal is “have a working system today,” cloud is easier to get into motion. If the goal is “long-term control,” self-hosting n8n on a private VPS is worth the operational investment.
Frequently asked questions about how to install n8n on a VPS
Should you install n8n on Ubuntu or Debian?
Ubuntu is the faster and easier choice for how to install n8n on a VPS, especially if you are new to Linux. Documentation, commands, and configuration examples for Ubuntu 22.04 or 24.04 are usually more abundant, so troubleshooting SSH, Docker, or Nginx tends to take less time.
If you are a marketer building automations for lead forms yourself, you should choose Ubuntu 22.04 first and keep that operating system for a stable deployment. Debian is still suitable if you are already comfortable administering servers and prefer a leaner, less changing environment. Choosing the distro you handle most confidently is more practical than choosing the one that sounds more “standard.”
Can you install n8n with Docker on a weak VPS?
Yes, but you should only install n8n with Docker on a weak VPS when the workload is very light and the number of workflows is small. On a machine with 1 vCPU and 1 GB RAM, n8n may run for personal testing; but when webhooks come in continuously, CPU usage rises sharply, or the container swaps heavily, the system will slow down noticeably.
If you use n8n docker compose on a VPS for testing, follow these 3 steps:
- Check that at least 500 MB of RAM is free before starting the container.
- Only enable 1–2 simple workflows, such as receiving a form from a landing page and pushing the data to Google Sheets.
- Monitor `docker stats` for the first 10–15 minutes to see whether the container restarts or uses RAM too quickly.
If the CPU stays near 100% or workflows hang when many requests arrive at once, upgrade the VPS instead of trying to optimize with tricks. The goal is stable lead processing, not just completing the installation step.
Do you need HTTPS immediately after installation?
Yes, you should enable HTTPS as soon as n8n is running properly on the real domain. HTTPS protects login sessions, reduces the risk of webhook information being exposed, and prevents browser access blocks when you open n8n from outside.
The quick method is:
- Point the domain to the VPS and check that DNS resolves correctly with `dig` or `nslookup`.
- Configure a reverse proxy with Nginx or Caddy to forward to n8n’s internal port.
- Issue SSL with Certbot, then open `https://your-domain` again to check the lock icon and login page.
If you are only testing internally with an IP or localhost, you can temporarily leave HTTP in place. But once you are using it for forms, leads, or customer data, enable HTTPS before sharing the URL with your team or clients. A webhook still running over HTTP is a sign that you should stop and tighten the configuration immediately.
Suggested images for the article
Images in the article should help readers visualize the n8n installation steps correctly, not just use generic illustrations. For a topic like how to install n8n on a VPS, good images are screenshots, flow diagrams, or short comparison tables so beginners can act on them right away.

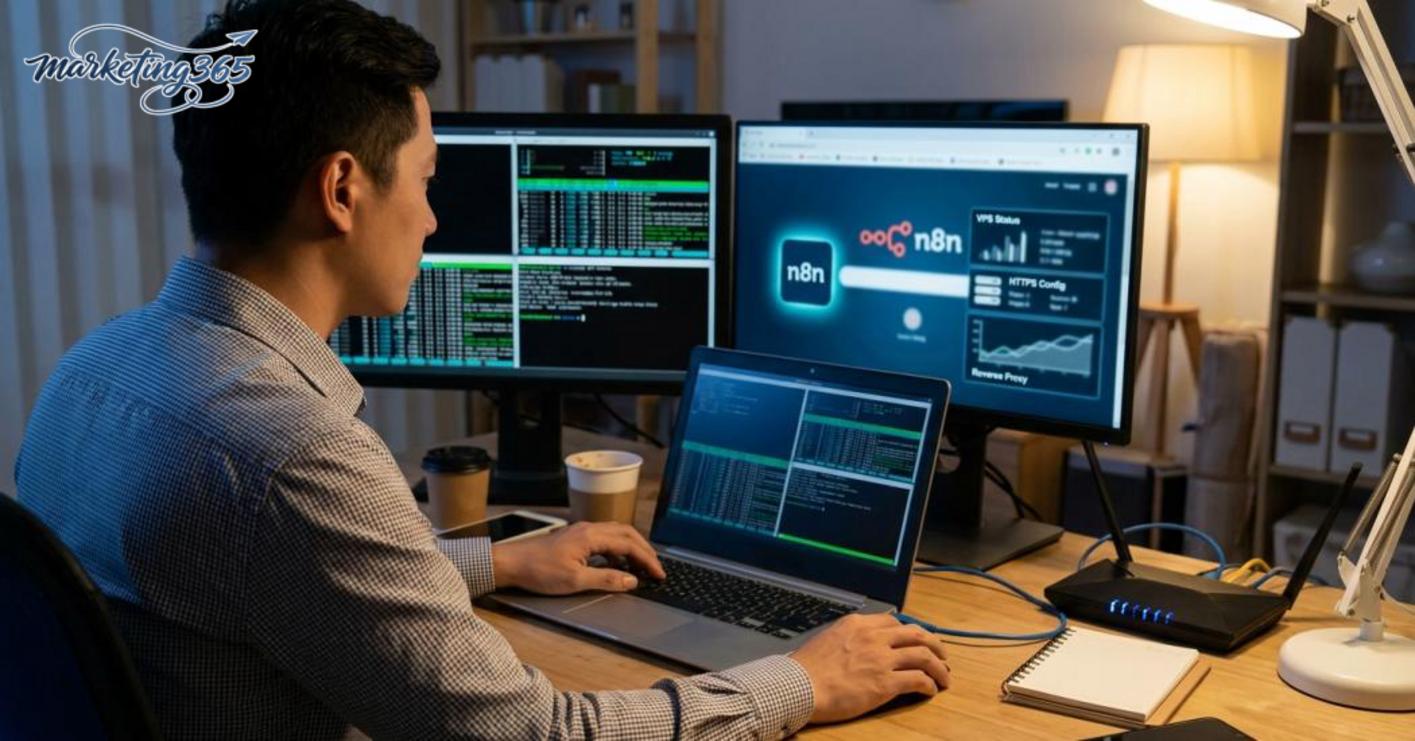
- Cover image: use a VPS, terminal screen, and n8n interface side by side to create a hands-on feel for marketers or online store owners.
- Image in the VPS preparation section: capture the operating system selection, CPU/RAM configuration, or server creation step so readers can match the correct specs.
- Image in the Nginx reverse proxy for n8n on a VPS and SSL Certbot for n8n on a VPS sections: include a terminal screenshot running commands, plus a browser screenshot showing HTTPS success.
- Image in the section about accessing the n8n interface through a custom domain on a VPS: capture the n8n login screen with the domain clearly visible so readers know the setup is working.
- Image comparing Node.js vs Docker: present it as a table or short infographic to help beginners choose the right approach before self-hosting.
If the article discusses errors, add a real error screenshot such as a 502 page or a service-not-running screen. These images are more useful than decorative ones because they help readers compare and fix issues quickly when installing n8n with Node.js and npm on a VPS or when using PM2 to keep n8n running on the VPS.
📌 MARKETING365 — Practical marketing news & guides
🌐 Website: marketing365.vn
👍 Fanpage: fb.com/marketing365.official
📩 Email: lienhe@marketing365.vn
For the latest official guidance, you can also refer to resources from Think with Google.
Related articles
- What Is AI Agent Marketing Automation and How to Use It
- How to Build an AI Agent for Beginners
- openclaw vs n8n: which automation tool should marketers choose
You can see more practical marketing guides at https://marketing365.vn.
You can also read more articles on the same topic in the AI Guides category.