

Contents
- What are Facebook Reels and why use them correctly
- Prepare the content before filming so you do not have to edit too much
- How to create Facebook Reels videos on your phone and on a Fanpage
- Edit Reels videos so they are easier to watch and post
- Post Reels and share them in the right place to increase views
- Common mistakes when making Facebook Reels videos and how to avoid them
- When to use professional support for Reels instead of doing it yourself
- Frequently asked questions about how to make Facebook Reels videos
If you are managing a fanpage, selling through a personal channel, or handling content for a small brand, how to make Facebook Reels videos is a skill worth mastering early. The right process is not just about filming and finishing; you also need to know how to edit, check, and publish so the video is in the correct format, has fewer errors, and is easier to track for performance. The goal of this section is to help you understand when to use Reels, how to separate filming, editing, and publishing, and how to create a video that is technically safe to post without common issues.
What are Facebook Reels and why use them correctly
Facebook Reels is Facebook’s short-form video format, optimized for vertical screens, short durations, and distribution to people who do not yet follow your page. If your goal is to expand reach, test ideas quickly, or introduce a clear benefit in 15–30 seconds, Reels is a suitable choice.
To make Facebook Reels videos effectively, follow these 3 steps:

- Choose one single main idea.
– Each video should solve only one problem, such as “how to fold a box in 10 seconds” or “3 ways to use product A.” – If the content has 2–3 major points, split it into multiple Reels instead of packing everything into one video.
- Open with a scene that shows the result within the first 3 seconds.
– Use a finished result, before-and-after, the main action, or a visible benefit. – For example: open with a packed box, a product being used, or a screen showing the result.
- Edit the video tightly so it is easy to watch on a phone.
– Keep the length around 15–30 seconds if it is a quick tip or short introduction. – Cut long greetings, roundabout introductions, and too much on-screen text. – Add short subtitles if viewers may watch with the sound off.
How Reels differ from regular feed videos
Reels prioritize distribution for content discovery, while regular feed videos often work better for people who already follow the fanpage or have seen previous posts. With Reels, viewers scroll vertically and decide whether to stop very quickly, so the frame, cut rhythm, and first 3 seconds are the most important parts. With feed videos, the description and title can add more context; with Reels, the visuals must tell the story on their own.
When to choose Reels for a fanpage or personal account
Choose Reels when you have short, easy-to-understand content with one visible action or result. Suitable cases include introducing a product in a few dozen seconds, sharing a quick tip, showing behind-the-scenes order packing, event recaps, or short Facebook videos used to maintain a steady publishing rhythm.
When not to force content into Reels
Do not force every piece of content into Reels just because you want more views. If the video needs multiple points, complex data, several interface screens, or viewers need to read each step carefully, use another format such as a feed video or a post with images.
You can use these 4 criteria to decide quickly:
- One video has only 1 main message.
- Viewers understand the content within the first 3 seconds.
- It is still clear on a small screen.
- It can be trimmed to 15–30 seconds without losing the point.
If the content meets all 4 criteria, it is a strong candidate for how to make Facebook Reels videos. If not, split the content or change the format to make it easier to watch.
Prepare the content before filming so you do not have to edit too much
Preparing the content before filming helps you reduce technical errors, film less, and avoid over-editing. With how to make Facebook Reels videos, preparation should lock in 3 things right away: topic, length, and frame format. If you plan to combine scenes, have the image files, clips, or screen visuals ready before you hit record.
Choose the content and a short script for your Reels video
The easiest Reels video to film is one with a single main idea, a hook that grabs attention, and a clear ending action. When making short Facebook videos, break the content into 3 parts: open with the benefit or problem, keep the body focused on one point, and finish with a light next step such as watching more, saving it, or trying it now.
For example, a clothing shop could film “3 ways to style one shirt,” while a service fanpage could do “1 mistake customers often make when booking.” This style is easy to edit, requires less long dialogue, and fits trending Reels better than rambling content. If you need to combine scenes, write each short shot down on paper so you do not miss anything while filming.

Set up the frame, lighting, and sound before recording
Reels videos should be filmed vertically in 9:16, with a steady camera and a light source facing the subject so the image does not look dark. This is the foundation of how to shoot short videos for Facebook Reels, because the wrong frame or distorted audio will make the video unusable even if the content is good.
Quick checklist before filming:
- Hold the phone vertically and clean the lens.
- Check the background to avoid clutter or noise.
- Stand near a window or a light source in front of you.
- Record a 5–10 second test to hear the sound and check whether the frame shakes.
- If filming on a phone, lock focus and avoid shaky hand movement.
When making Facebook Reels on a phone, even weak lighting or overly long dialogue can mean you have to reshoot. If you want to combine scenes, prepare the assets in advance so you can cut and edit Facebook Reels faster later and avoid searching for files midway.
How to create Facebook Reels videos on your phone and on a Fanpage
How to make Facebook Reels videos on your phone and Fanpage starts with opening the Reels section, choosing create new, adding a video or recording directly, then checking the frame before posting. For personal accounts and fanpages, the path may differ slightly, but the workflow is the same: go to Reels, create content, preview it, and only post once the cut, text, and audio are all in good shape.
Steps to create Reels from an existing video
How to create Facebook Reels on a phone from an existing file is to choose the right video, crop it to a vertical frame, and check the preview before publishing. This method works well when you have already filmed with a camera or saved a video from your device and need to post quickly without reshooting from scratch.

- Open the Reels section in the Facebook app, then choose to create a new video.
- Select the video file from your library, then trim the beginning and end to match your intended message.
- Switch the frame to vertical if the original video was shot horizontally, because Reels displays best in vertical format.
- Add a short caption, then check the text placement and audio before posting.
When handling how to cut and edit video for Facebook Reels, review 3 points: whether the subject’s face is cut off, whether the text touches the screen edges, and whether the opening is clear enough within the first 2 seconds. A 15–30 second video usually keeps a better rhythm than a longer one that feels diluted.
Steps to record Reels directly in Facebook
How to shoot short videos on Facebook Reels directly on a phone is to open the camera in Reels, quickly test the frame, and record a short clip before making the final version. This is suitable when you need fast-updating content, such as introducing a product, sharing a workspace angle, or capturing an action in progress.
- Go to Reels and choose to record a new video instead of uploading one.
- Check the front/back camera, brightness, and ambient sound before pressing record.
- Choose a duration that fits the content; if you are not used to it yet, record a 5–7 second test to frame the shot.
- Use effects or music when needed, but only add them if they do not clutter the main information.
With how to make Reels on a Facebook Fanpage, admins often need to check posting permissions and make sure they are using the correct account that manages the page. If the create Reels button does not appear, switch to fanpage management mode and try again, because in many cases the user is still on the personal profile and the workflow is off.
Edit Reels videos so they are easier to watch and post
Editing Reels videos is the step that turns raw clips into content that is easy to watch, well-paced, and less error-prone when posted. With how to make Facebook Reels videos, prioritize trimming, adding just enough music, inserting effects to emphasize the point, and checking whether the interface covers any text before publishing.
How to cut and arrange video so the content flow does not break
Cutting and arranging video for Facebook Reels should keep the main points, remove pauses, and order scenes in the way viewers can understand most easily. If the first 1–3 seconds contain silence, unnecessary camera movement, or a broken opening line, cut it out right away so the video moves faster.
Practical approach:
- Watch the full clip once and mark the parts that contain the main information.
- Remove shaky shots, off-angle footage, repeated speech, or long hesitations.
- Reorder the scenes logically: open with the problem, show an example, then close with the key point.
A common mistake is cutting too aggressively so the sentence loses its subject or meaning. In that case, reconnect it with a short transition shot or keep an extra 0.5–1 second at the start of the sentence so the speech feels more natural. This is a core part of the guide to editing Facebook Reels videos, especially for sales or service-introduction videos.

How to add music and effects without diluting the message
The effective way to add music to short Facebook Reels videos is to use music to keep the rhythm, not to overpower speech or on-screen text. Music volume should be lowered when the video has dialogue; if the video has no dialogue, music only needs to support the pace and mood.
Read more: How to Design a Professional Fanpage Cover Image
Effects should be used in moderation. One transition effect or a well-timed text emphasis is enough for most small-business videos. Do not add too many filters, zooms, or constant motion because viewers will lose focus on the main message.
Checklist before posting:
- Check whether the text is covered by the navigation bar or interaction buttons.
- Listen again to the music in the opening and closing sections.
- See whether the effects slow down the viewing pace or cover the product/service.
- Keep the overall edit clean so it is easy to repost for how to make Reels on a Facebook Fanpage or a personal account.
If the goal is selling, prioritize clarity over trending Reels music.
Post Reels and share them in the right place to increase views
Posting Reels in the right place helps the video get distributed to the right audience and avoids display errors caused by incorrect settings. With how to make Facebook Reels videos, the final step is not the post button itself, but checking the caption, cover image, viewing permissions, and where to share after publishing.
Check the caption, thumbnail, and visibility settings before posting
A short, clear caption that matches the video content helps viewers understand immediately what you are talking about. The cover image should include a face, product, or key text that is easy to recognize; visibility settings must also match your goal, especially when you choose how to post Reels videos on a personal Facebook account to avoid accidentally posting to Only Me or a restricted audience.
Checklist before hitting post:
- Read the caption again to make sure the product name, time, or call to action is correct.
- View the thumbnail at a small size; if the content is still recognizable, it passes.
- Check visibility: public, friends, or limited to a target group.
- Review the audio, description, and related content tags if any.
A very common mistake is that the video itself is fine, but the person posting forgets to adjust privacy settings, so the Reels are not distributed as intended.
Share Facebook Reels to the feed when you need extra views
Sharing Facebook Reels to the feed makes sense when the video has already been posted correctly but needs more reach from your existing friends or followers. This is useful for product-introduction videos, quick-answer videos, or content that needs a reminder after a few hours, but it should not be overused for every Reel because it can make the feed repetitive.
When applying how to share Facebook Reels to the feed, rewrite the lead-in sentence so it differs from the original caption, and add specific context such as why people should watch, what is new, or the main benefit. If you are doing how to make Reels on a Facebook Fanpage, sharing to the feed should have a clear goal: drive comments, drive saves and views, or boost content that is already performing well.
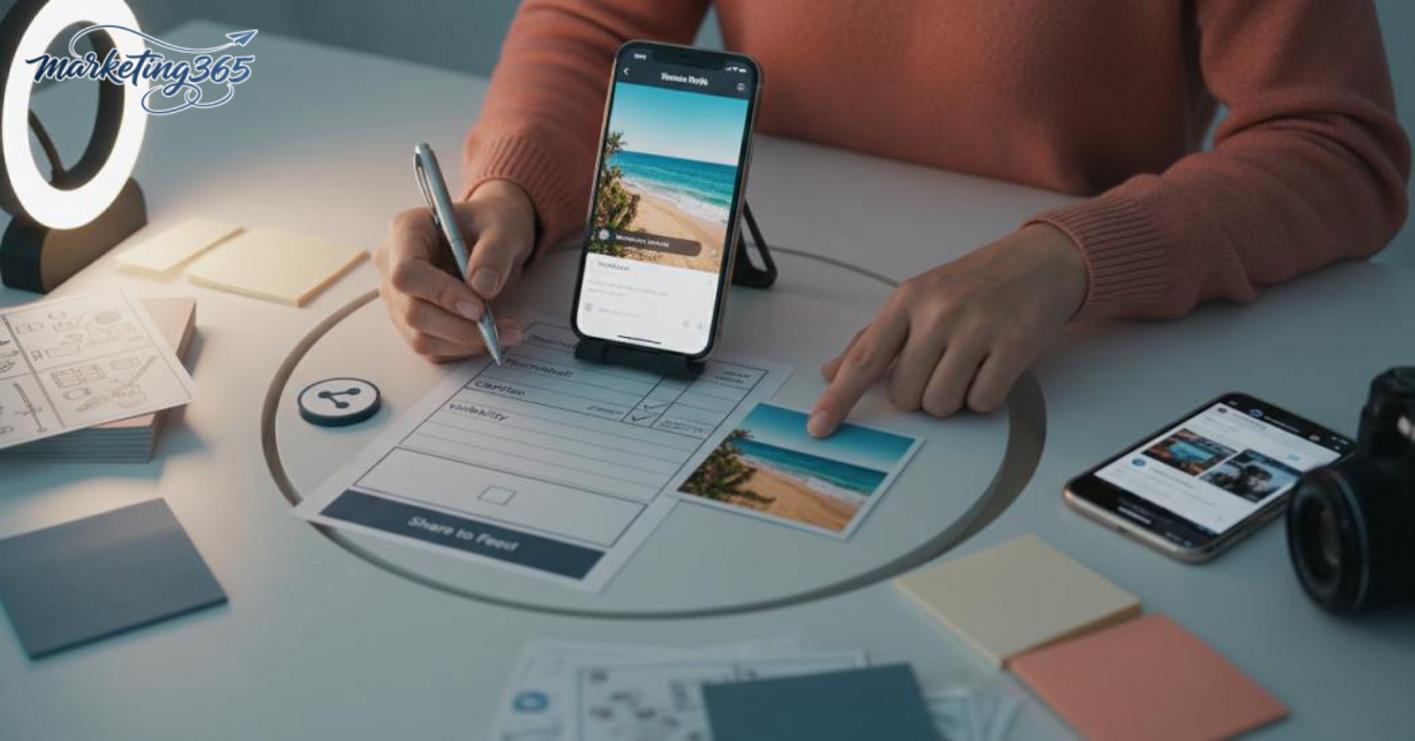
Only share when the video has the right cover image, the right description, and no visibility issues. If the content is already performing well on Reels, it is better to leave it as is rather than reposting too soon.
Common mistakes when making Facebook Reels videos and how to avoid them
When making Facebook Reels videos, handle errors in this order: technical issues, content, publishing, and then distribution. Following this order helps you fix things faster and avoid correcting the wrong part, especially when the video is not yet good enough or has not generated the expected sales.
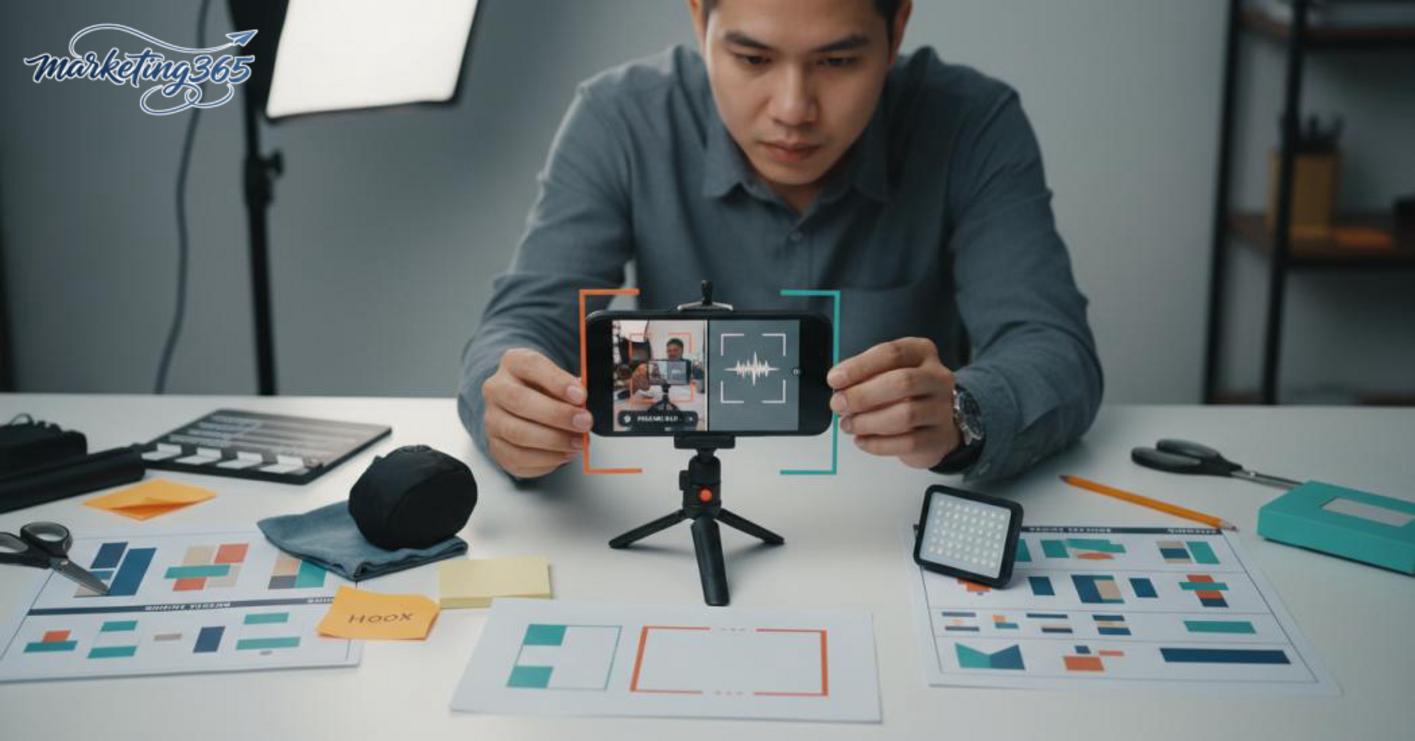
Blurry video, no sound, or off-frame shots
Blurry video, no sound, or off-frame shots usually come from the source file, filming method, and export step, so they need to be checked before posting. With how to make Facebook Reels videos, even a small issue with aspect ratio or background audio can make the video look unprofessional right away.
- If the video is blurry, check the filming light, camera shake, and compression level of the source file.
- If there is no sound, open the original file to listen again, then check whether the mic was blocked or background music overpowered the voice.
- If the frame is off, reset the vertical 9:16 frame before exporting in how to shoot short videos on Facebook Reels.
A quick fix is to reshoot dim clips with more even lighting, cut out shaky sections at the beginning or end, and export in the correct vertical size. When cutting and editing video for Facebook Reels, preview it on a phone to make sure the text, face, and logo are not cut off. If you need music, lower the background volume so the voice remains clear.
The video is posted but does not meet expectations
If the video is posted but does not meet expectations, it is usually because the caption is not clear enough, the thumbnail is not eye-catching, or the first 3 seconds are too slow. This happens often for people new to how to post Reels videos on a personal Facebook account, because the content may be correct but still fails to give viewers a reason to stop scrolling.
- If views are low, check whether the opening gets straight to the point.
- If there are views but little engagement, review whether the caption clearly states the benefit or asks a question that invites responses.
- If it was shared in the wrong place, review how to share Facebook Reels to the feed so the video reaches the right audience.
The fix is to change the thumbnail to a brighter frame, write a shorter caption that clearly states the benefit, and shorten the opening section. With how to make Reels on a Facebook Fanpage, the content must match the goal: sales, guidance, or awareness. If you are making Facebook videos for sales, check the greeting, product priority, and editing rhythm again, because an opening that is too long often reduces retention.
When to use professional support for Reels instead of doing it yourself
Use professional support for Reels when the channel starts consuming too many hours but quality is still inconsistent. With how to make Facebook Reels videos, a clear threshold is when one person has to film, edit, post, and reply to comments, causing the posting schedule to break.
One case worth considering is when a fanpage needs short Facebook videos in multiple formats: ads, product introductions, trend-based content, and customer response videos. In that case, support helps standardize how to shoot short videos on Facebook Reels, guide Facebook Reels video editing, and check music, subtitles, and aspect ratio before posting.
Signs that it is time to get support include:
- Each video takes too long because it needs multiple rounds of edits.
- The brand voice is inconsistent across posts.
- The admin has to manage both how to make Reels on a Facebook Fanpage and the personal channel.
- The channel needs multi-channel coordination, but the content approval schedule is unstable.
If the goal is only to post a few clips each week, doing it yourself is still reasonable. If the channel needs a stable process, quality control, and fewer mistakes when making Facebook sales Reels videos, professional support is often worth considering.
Frequently asked questions about how to make Facebook Reels videos
This FAQ section answers common questions about making Facebook Reels videos. Each answer can be applied immediately to a personal account or fanpage, especially when you are posting videos yourself from an Android phone, iPhone, or Meta Business Suite.

Is making Facebook Reels videos on a phone different from doing it on a fanpage?
Yes, the two methods differ in where you post, management permissions, and how you track performance. On a personal phone account, you can usually post faster but have less control over roles; on a fanpage, you can assign another admin, use Meta Business Suite to schedule posts, and view statistics for views and engagement by post.
If you are a small seller, keep personal videos and brand videos separate. For example, a cosmetics shop could post short review videos on the fanpage, while behind-the-scenes clips or experience-sharing content stays on the personal account to keep the tone clear.
Should you add trending music to every Reels video?
No, because trending music is only suitable when it supports the editing rhythm and mood of the video. If you are making tutorial videos, product demos, or policy explanations, music that is too loud will overpower the voice and reduce clarity.
The safe approach is to edit the video first, then test background music at a lower volume than the voice. For 20–30 second videos, check the first 5 seconds with headphones to see whether the narration is being buried. If the content needs to keep the original sound, prioritize the original audio and only add light music during transitions.
Do Facebook Reels have to be filmed vertically?
Not absolutely, but vertical filming is the safest choice because the Reels viewing frame is optimized for phone screens. If you use a horizontal file, you need to crop the frame to avoid black borders, text too close to the edge, or faces shifting out of the visible area.
A quick fix is to place the subject in the center of the frame while filming, then review the draft on a phone before posting. For example, with a product video shot horizontally in 16:9, you should also try exporting a 9:16 vertical version in CapCut or VN Video Editor to compare which one is easier to watch on Reels.
For official and up-to-date guidance, you can also refer to Meta for Business.
You can also find more practical marketing guides at https://marketing365.vn.
Content from marketing365 is created for SMEs, online shop owners, and new marketers.
You can read more related articles in the Social Media category.