
Contents
- What is a simple marketing image design app, and who is it for?
- How to choose a simple marketing image design app for your needs
- How to use an app to create a basic marketing image from start to finish
- Common mistakes beginners make when creating marketing images with an app
- Should you use a free or paid app for marketing images?
- When to use professional support instead of doing it yourself
- Frequently asked questions about simple marketing image design apps
- Related articles
Shop owners, fanpage admins, and small marketers often need a simple marketing image design app to create sale banners, ad creatives, and social media posters without opening Photoshop. The first thing to check is whether the app is easy to use with drag and drop, uses the correct dimensions, exports clear images, and is safe enough to publish on marketing channels. If you choose the wrong one, the image may be misaligned, text may get cut off, or it may look unprofessional right on the feed.
The goal of this section is to help you know which app to choose, how to use it, what to check before publishing, and the common mistakes people make when creating marketing images on mobile or web.
What is a simple marketing image design app, and who is it for?
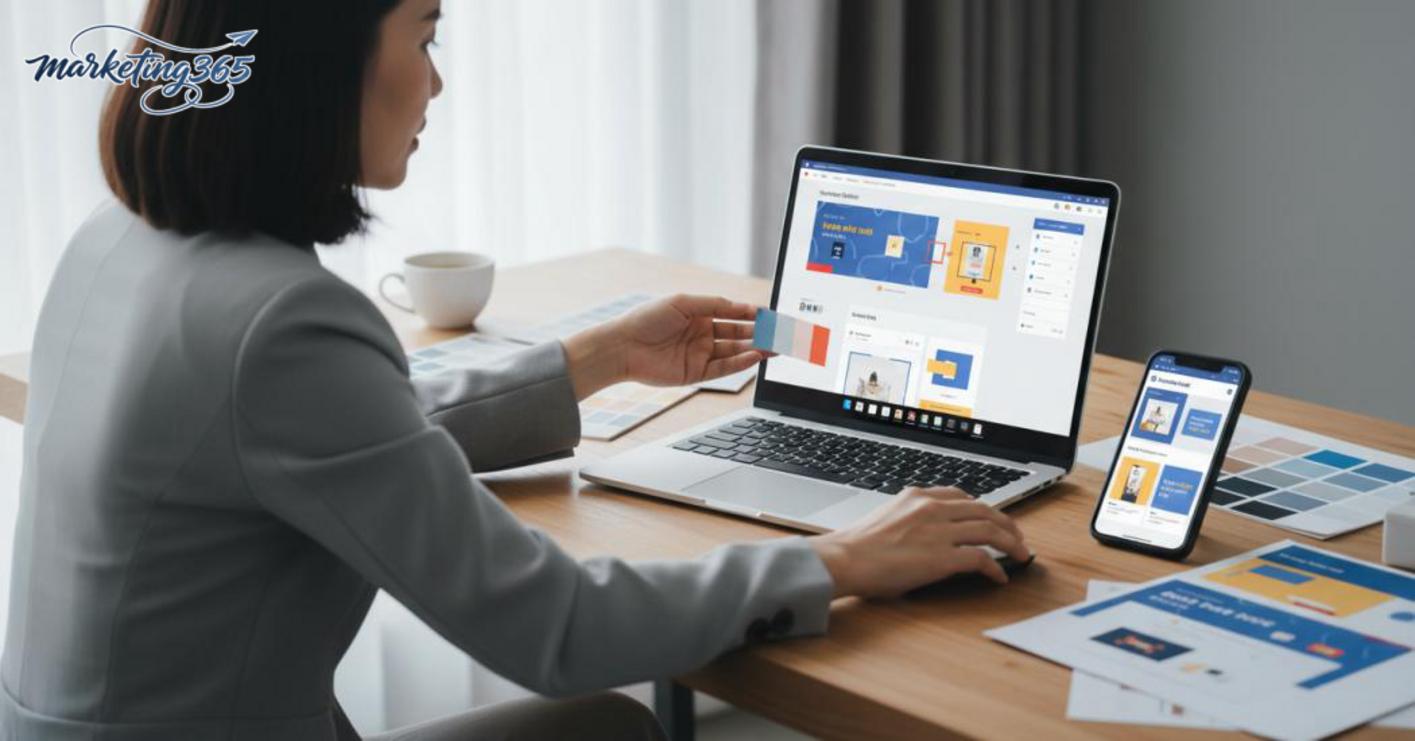
A simple marketing image design app is a tool that helps you quickly create banners, posters, post images, and ad creatives using drag and drop, ready-made templates, and basic text, image, and color editing. It suits people who need clean marketing visuals, have no design background, or need to handle content quickly on mobile or web.
Typical users include shop owners, fanpage admins, marketers running small campaigns, and anyone who needs design without Photoshop. For an end-of-day sale, simply changing the price, swapping the product image, and adjusting the colors to match the brand identity is enough to produce a usable design. This approach saves much more time than opening a complex design file.
Common needs this type of app handles well
A simple marketing image design app handles tasks where speed matters more than fine detail. It works well when you are creating sale images, promotional posters for a small shop, Facebook ad creatives, or a quick fanpage post image in 10–20 minutes.
Common situations include urgently updating a banner before an ad goes live, changing a few lines of text for a social post, or quickly building a content marketing image design app workflow on a phone to publish the same day. If you need ready-made templates, minimal steps, and no detailed editing like Photoshop, this category of tools is a sensible choice.
When to consider other tools instead of only using a simple app
A simple marketing image design app starts to fall short when a project needs many banner versions, strict control over color, font, and size consistency, or print-ready exports. When a team has to review multiple rounds, drag-and-drop apps are often harder to manage as a system than a more structured design tool.
Another sign is when you need to create an ad image editor app with multiple layers and assets, or need free online ad image design software while still keeping brand structure tight. In that case, a simple tool can still handle quick tasks, but the main work should move to a stronger solution.
How to choose a simple marketing image design app for your needs
Choose a simple marketing image design app by starting with your needs, device, and ease of use, then looking at file quality and brand consistency. If you do it in reverse, you may install a famous app but waste time because it lacks Vietnamese fonts, cannot save templates, or exports blurry images when posted to a fanpage.
5-point checklist to review before installing or using
- Choose based on your goal first. If you need banners, posters, fanpage posts, or ad creatives, check whether the app has the right templates. A free banner design app may be strong in ready-made templates but still lack layouts for sale images and promotions for small shops.
- Choose based on your device. If you mainly work on a phone, prioritize a fanpage post image app that is quick and simple, with drag-and-drop actions in just a few steps. If you need to work on both web and desktop, check whether the app syncs drafts across devices.
- Choose based on ease of use. For people who are not familiar with design, a drag-and-drop marketing image design tool with ready-made templates and automatic resizing will save more time than Photoshop-free design that requires building everything from scratch.
- Check export quality. Images must stay sharp when downloaded, especially for ads or fanpage posts. See whether the app lets you choose the correct social dimensions, transparent PNG, or lightweight JPG.
- Check brand consistency. A content marketing image design app should let you save logos, brand colors, Vietnamese fonts, and reusable templates. When you need to create many similar designs, you only need to change the text.
Signs that an app is truly easy to use
A truly easy-to-use app is one where creating an image takes only a few steps to produce a finished version. The clearest sign is this: open the app, choose a template, change the text, add the logo, export the file. If it takes too many steps or you have to dig through menus just to change the size, the app is not suitable for people who need to work fast.

You should also look at how the app supports your workflow. A good ad image editor app usually has a clear template library, smooth drag-and-drop controls, and built-in size guidance for each format. When you test changing a headline or logo and the layout does not break, that is a very practical sign. If you have to adjust every text layer manually, the app may look good in ads but is not truly easy to use.
How to use an app to create a basic marketing image from start to finish
A simple marketing image design app helps you create a usable image that matches your goal, uses the right size, and is easy to read on mobile. For beginners, following just 3 steps is enough to create images for a fanpage, ad campaign, or promotion notice without getting lost in the layout.
Step 1: Define the goal and main message of the image
Before opening the app, decide exactly what this image needs to do. If it is for sales, the main message should be the offer or benefit; if it is for an announcement, just state the event and time; if it is for engagement, the headline must be short enough for viewers to understand in 2–3 seconds. One image trying to do all three usually becomes text-heavy and lacks focus.
Read more: Free Infographic Maker Tools: How to Choose

The content filtering process is very simple:
- Write one main sentence, about 6–10 words long.
- Add one benefit or one standout number if available.
- Leave space for a short CTA such as “Buy now,” “See details,” or “Sign up.”
For example, with a sale and promotion image app for a small shop, you only need to keep the offer, product name, and CTA. Details like long descriptions and lengthy terms should go in the caption, not be crammed into the image.
Step 2: Choose a template and adjust the size for the publishing channel
Choosing the right frame before editing content will prevent text from being cut off on Facebook or the banner from looking misaligned. Feed posts, stories, websites, and cover images all use different ratios, so do not use one file for everything.
When using a simple ad banner design app, follow this order:
- Choose the correct preset for the publishing channel, such as social post, fanpage, web banner, or story.
- Check the safe area at the top, bottom, and both sides.
- Place the headline in the center area to reduce the risk of it being cut off when the system compresses the image.
A common mistake is choosing a beautiful template but placing the text too close to the edge. When reposting with a quick fanpage post image app, the opening text or CTA can easily disappear, especially on mobile. If the image will be used across multiple channels, prioritize a square or vertical frame depending on the main publishing location, then export an extra version.
Step 3: Optimize text, images, and logos so the image is easy to read on mobile
Marketing images only work when viewers can read them at a glance. That is why the headline must be large, supporting text must be minimal, the logo must not cover the product, and the background must contrast enough with the text.
Checklist to complete inside a content marketing image design app:
- Keep one main headline, no more than 2 lines.
- Use a clear product image, not blurry or cropped in a way that removes details.
- Increase contrast if the background is light and the text is faint.
- Place the logo neatly in a corner, without competing with the main content.
If you are using Canva to design images or another ad image editing app for people who do not know design, zoom the image out to phone-view size. If the text is still readable when reduced, the layout is fine. If you have to squint to see it, reduce the amount of text or increase the font size before exporting.
Common mistakes beginners make when creating marketing images with an app
Marketing images made with an app usually fail in 5 places: too much text, wrong size, hard-to-read fonts, overdone effects, and not previewing on mobile. Fixing the signs below will make the image cleaner, clearer, and less likely to have issues on a fanpage or in ads.
The image is cluttered with text and has no clear focal point
Text clutter is the most common mistake when using a simple marketing image design app. The signs are easy to spot: after reading, viewers still do not know where to look first, the headline gets lost among too many sentences, and icons and background colors compete with each other. With an ad image editing app for people who do not know design, the fastest fix is to keep one main idea, split it into a large headline and one short supporting line.
- Remove descriptive details that do not help clarify the message.
- Keep only 1 headline, 1 main benefit, and 1 key point.
- Use no more than 2 fonts; do not mix too many type styles.
If the image has 3–4 main colors, reduce it to 1 primary color, 1 accent color, and 1 text color so the layout feels more open. A simple trick is to glance at it for 3 seconds: if you still cannot read the main message at a glance, the image needs less text immediately.
The image looks good in the app but bad when actually posted
An image that looks fine in the app but breaks after posting usually means the preview was not checked in the actual publishing format. Common signs include a logo too close to the edge, text cut off by the frame, or the image appearing too bright on mobile.

Read more: Canva Pro vs Canva Free: What’s the Difference?
When using a quick fanpage post image app, you should do these 3 steps:
- Open the preview in the correct posting ratio, not just the editing screen.
- Check the safe area on all four edges, especially the headline and logo.
- Read the image again on a real phone to see whether the text is clear enough.
With an easy-to-use Facebook ad image app, prioritize common aspect ratios and keep important content in the center. If text or the logo gets cut off after posting, export again with a looser layout and fewer small details.
Should you use a free or paid app for marketing images?
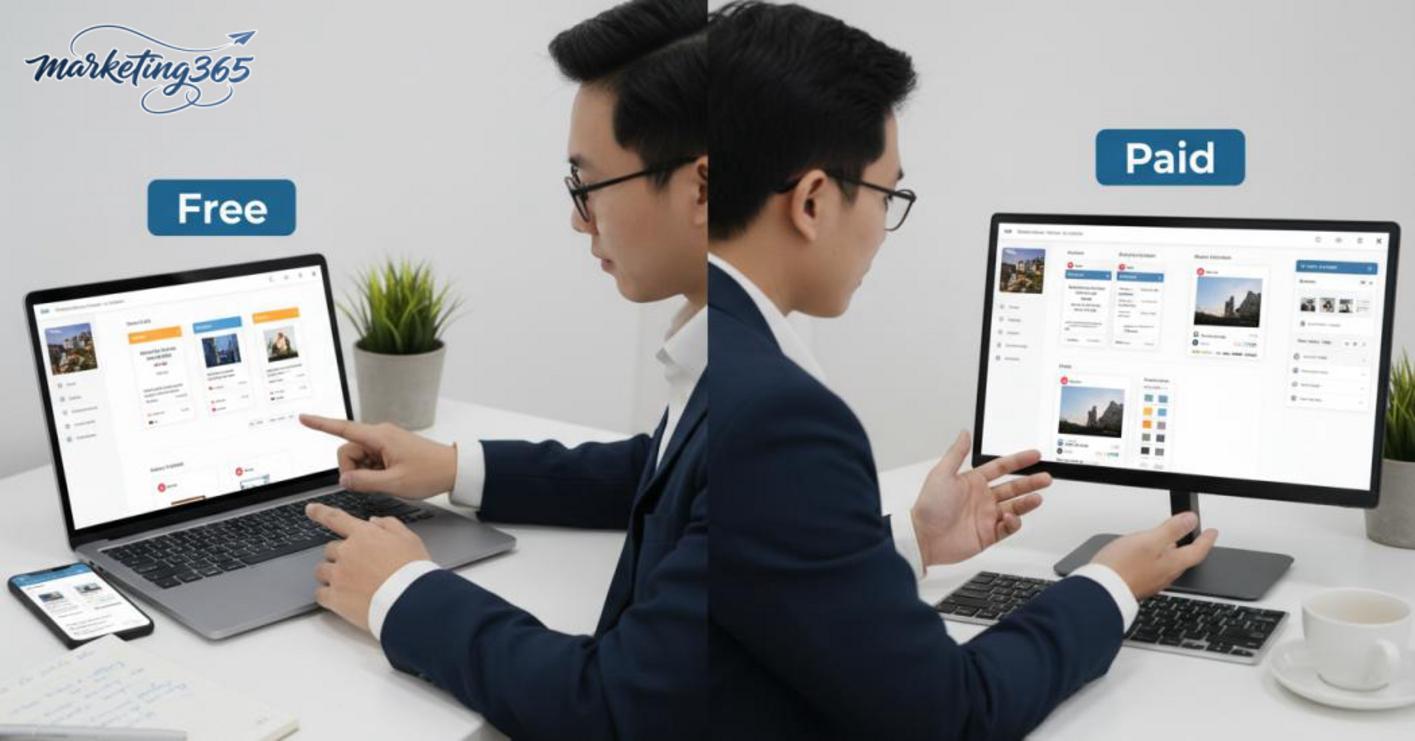
A free app is enough for quick work, a small number of assets, and no need for complex brand synchronization. A paid version is worth considering when you need more templates, better exports, saved template sets, and team collaboration.
When the free version is enough
Free apps are usually suitable for small shops, beginners, or admins who only need 2–5 images per week. For needs like sale banners, announcement posters, or simple fanpage posts, a simple marketing image design app is enough if you can accept limited templates, fewer fonts, and occasional watermarks. The check is quick: if you can create one template, edit the text, change the image, and export the file in 10–15 minutes without format issues, the free version is still fine. A free social media image creation app is also suitable when you do not yet need to save many versions for each campaign.
When to consider upgrading or switching tools
You should upgrade when the work starts repeating often and consistency becomes important. The clearest sign is that you keep adjusting one layout for multiple channels, need many template sets for promotions, or need to save fonts, colors, and logos exactly to standard. At that point, a paid drag-and-drop marketing image design tool saves more time than the free version because it offers more templates, more flexible exports, and better library management. If you run multiple ad groups or create images that change every week, using an easy Facebook ad image app in its free version will quickly hit limits; upgrading becomes worthwhile when the time spent editing starts to exceed the time spent planning content.
When to use professional support instead of doing it yourself
Choose professional support when you need images that are consistent across multiple channels, strictly follow brand guidelines, or must meet deadlines for ads and landing pages. With a simple marketing image design app, you can still create individual designs quickly; but when a campaign needs many versions, multiple sizes, and one unified visual standard, doing it yourself often takes more time than it is worth.
A common case is when an internal team has to revise the same banner, fanpage image, and ad creative through multiple rounds of feedback. If each new version shifts the font, color, or logo placement, that is a sign the process has gone beyond what a simple marketing image design app can handle.
Signs that you should stop trying to do it yourself
When an image keeps going through revisions without reaching consistency, it is better to stop doing it yourself and move to professional support. Another sign is when you spend an entire afternoon adjusting 3–5 assets while the ad team is still waiting for files to launch.
The decision checklist is simple:
- You need one image set for Facebook, landing pages, and email at the same time.
- You need to follow exact colors, fonts, and logo spacing.
- You need different ad creatives for each product group.
- There is no one internally to approve the final quality.
If you meet 2 or more of these criteria, continuing to do it yourself will usually slow down the whole campaign.

How to move from DIY to a more controlled workflow
The safest approach is to keep the simple work in-house, while outsourcing or tightly standardizing the parts that need consistency and optimization. For design without Photoshop, you should save templates in advance, lock the color/font/logo set, and use a checklist before publishing.
The cleanest workflow is:
- Finalize one shared brand identity for all templates.
- Create fixed templates for banners, social posts, and ad images.
- Review against a checklist: correct size, correct logo, correct message, correct version.
- Keep only repeated edits inside the drag-and-drop tool.
Read more: Free QR Code Generator: How to Choose and Use It Right
Once this framework is in place, a content marketing image design app is still useful for quick tasks, but the overall quality will be more stable.
Frequently asked questions about simple marketing image design apps
Which marketing image design app is best for beginners?
For beginners, Canva is the best choice thanks to its huge template library, simple drag-and-drop workflow, and free version that is enough for most needs. You can also try Adobe Express, VistaCreate, or Fotor. These apps all offer templates in standard Facebook and Instagram sizes, so you only need to change the text and image.
Can you create good marketing images on a phone app?
Absolutely. Apps like Canva, Adobe Express, and Picsart on mobile have nearly all the features of the web version: ready-made templates, Vietnamese fonts, background removal, and color editing. You should export at the highest resolution and keep the layout spacious so it displays sharply on any screen.
Do free marketing image design apps add logos or limits?
Most free apps do not add a logo to exported images, but they do limit some templates, fonts, and premium image libraries to paid plans. Canva, Fotor, and VistaCreate allow you to download high-quality PNG/JPG images for free. You just need to avoid elements marked Pro, and the image will be completely clean and ready for commercial use.
A simple marketing image design app is best for people who do not know design if it has a drag-and-drop interface, ready-made templates, and only a few steps to use. Choose this type to create fanpage posts, sale images, or ad banners quickly without learning heavy software.
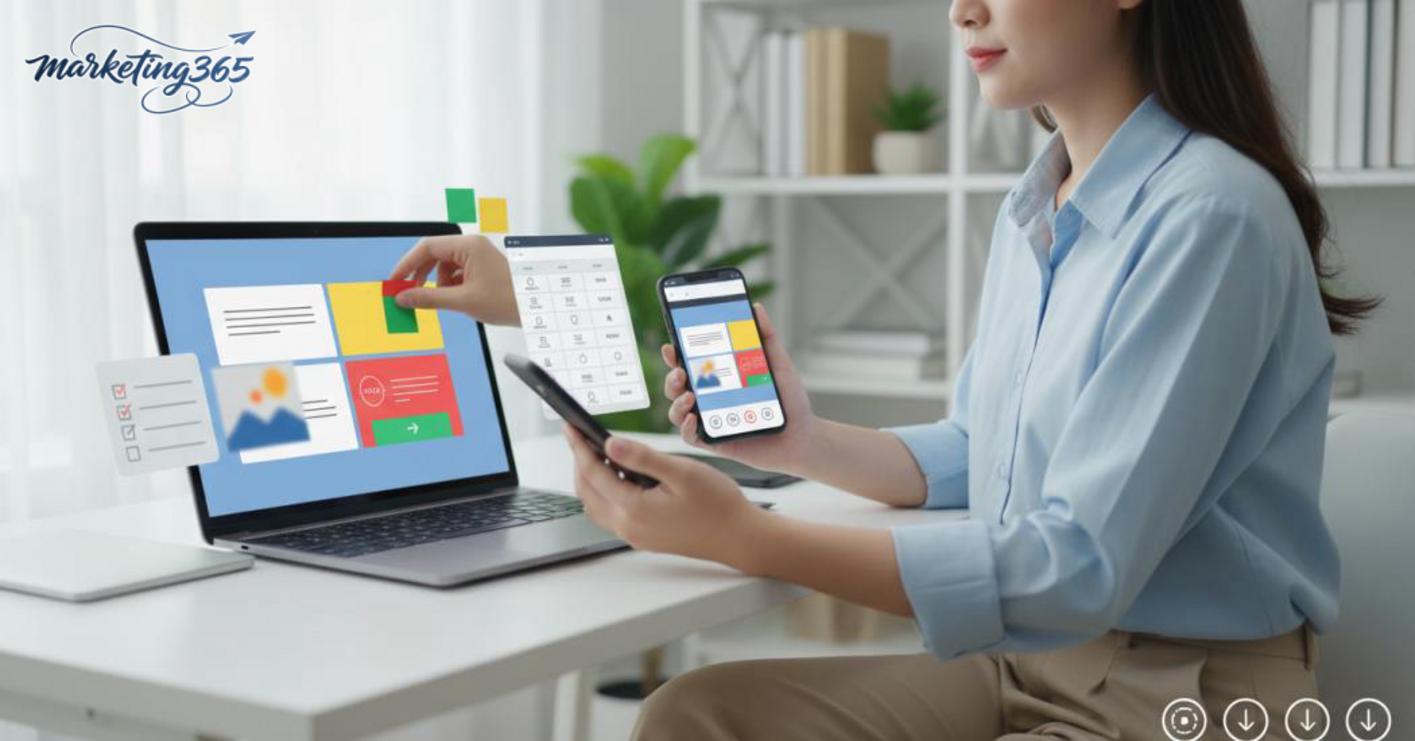
- Prioritize apps that let you change text, images, and colors right on the main screen.
- Choose apps with preset sizes for social media posts.
- The easiest example is a promotional poster built from just 4 parts: background, headline, price, and call-to-action button.
You can use a free app to create ad images, but you must check for watermarks, export limits, and the number of available templates. If you only need basic sales posts, the free version is usually enough; if you need many consistent templates or bulk exports, then it is time to consider upgrading.
Designing on a phone is good enough for fanpages and social media if the image has a clear layout, large text, and does not require too many layers. A common case is when an admin needs to change a price, update a sale date, or replace a product image right before posting; a phone is very convenient for that.
To keep images from becoming blurry or losing text when posted, export at the correct ratio, use a large enough original image, and leave safe margins for text. Before posting, open the image on a phone screen to preview it, because text too close to the edge is very easy to cut off.
Quick checklist:
- Choose the correct frame for the post.
- Use clear fonts and avoid text that is too thin.
- Export the file in high quality.
- Check the image on mobile.
- If the image is blurry, replace the source image and export again.
For official and up-to-date guidance, you can also refer to materials from Think with Google.
Related articles
You can find more practical marketing guides at https://marketing365.vn.
Content from marketing365 is built for SMEs, online shop owners, and new marketers.
You can also read more articles on the same topic in the Martech Tools category.