
Contents
- What is professional beautiful product packaging, and why you should not mistake “the more elaborate, the better”
- What to prepare before packaging so it is both beautiful and fast
- Step-by-step professional beautiful product packaging process
- How to package common product groups beautifully
- How to make packaging look good while saving time and cost
- Common mistakes that make a package lose points even when the product inside is fine
- Checklist to review before finalizing the order and handing it to the carrier
- Frequently asked questions about professional beautiful product packaging
Many shops make packaging look nice but still waste time, get crushed easily, and make orders feel unprofessional. With professional beautiful product packaging, the goal is not just to have eye-catching paper boxes, filler paper, or stickers, but to maintain three pillars: visual appeal, sturdiness, and operational efficiency.
This section focuses on how to do it yourself at the shop or at home, suitable for everyday orders from online shop owners and e-commerce teams. You will get a framework for choosing materials, arranging your workflow, and checking the details needed to package neatly and safely while still making a good impression when customers open their orders.
What is professional beautiful product packaging, and why you should not mistake “the more elaborate, the better”
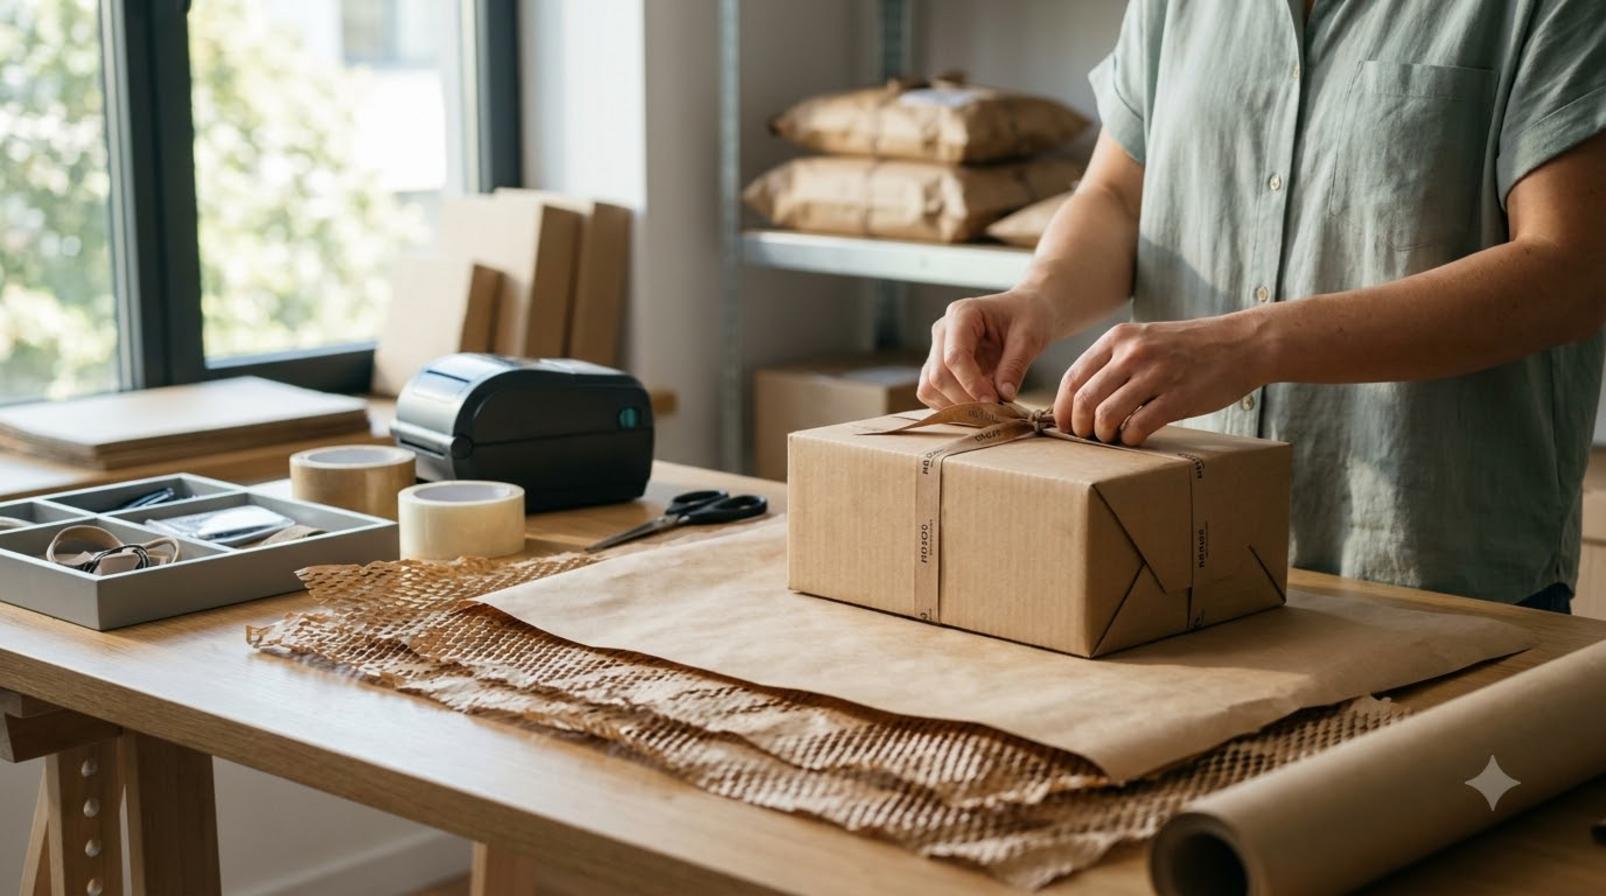
Professional beautiful product packaging is a way to make a parcel clean, neat, and consistent while also protecting the product well and creating a polished feeling when the customer opens it. The goal is to balance aesthetics, safety, processing speed, and cost—not to stuff in as many accessories as possible just to make it look attractive.
A package that is beautiful but professional usually looks clearly tidy at first glance: the packaging is flat, the labels are neat, nothing is exposed, there is no excess material, and it opens easily. For clothing orders, you can fold them flat, place them in a clean bag, and add a thin layer of paper; for cosmetics, you need better sealing; for small accessories, you should secure them to prevent shifting during transit. That is what professional beautiful product packaging that wins customers over looks like.
If you focus only on appearance and forget durability, the parcel can get crushed, open up, or expose the contents during long-distance delivery. On the other hand, packaging that is too focused on protection but looks sloppy also weakens the unboxing experience. The right approach is to choose the level of finishing that fits each product type, so online shop packaging has a clear identity without slowing down the product packing process.
Signs of a package that is “beautiful yet professional”
A package that is beautiful yet professional looks clean, opens easily, and stays consistent across orders. The recipient can tell at a touch that it is neat, with no excess material or crooked labels.
The easy-to-check signs include:
- The packaging surface is flat, with no wrinkles or dirt.
- The label is clear and placed where it is easy to read.
- Nothing is exposed and no edges are left open.
- The box or bag opens without being awkward.
- Colors, arrangement, and filler layers are consistent across orders.
If you do a packaging checklist every day, just looking at the first three samples is enough to tell whether the shop is maintaining its packaging standard.
When to prioritize safety over decoration
When products are fragile, high-value, or traveling far, safety must come before decoration. For a packaging method that is both safe and attractive for fragile items, reduce ribbons, thin filler paper, and accessories that can shift easily.
Prioritize in this order:
- Secure the product.
- Protect against impact with suitable cushioning.
- Seal tightly and reinforce the edges.
- Add decoration only if it does not affect protection.
For example, a glass bottle needs better impact protection than elaborate styling; liquid cosmetics must be leak-proof; small electronics need to be kept from shifting. Once the package is sealed, sturdy, and clean, you can then add visual finishing touches.
What to prepare before packaging so it is both beautiful and fast
Preparing the right materials before packaging helps the parcel look better, speeds up handling, and reduces mistakes that require rework. For online shops, materials should be clearly separated by product group, the packing area should be ready, and materials should be arranged in the order they are used so each order moves through a short cycle without having to search for items midway.
A neat packing session usually starts with four tasks: checking the correct product and quantity, quickly measuring dimensions to choose a box or bag, grouping materials by product type, and placing labels where they will not overlap. If clothing, fragile items, and gifts are packed the same way, processing time will increase and the package shape will also be more likely to be off.
Choose boxes, bags, and filler materials by product group
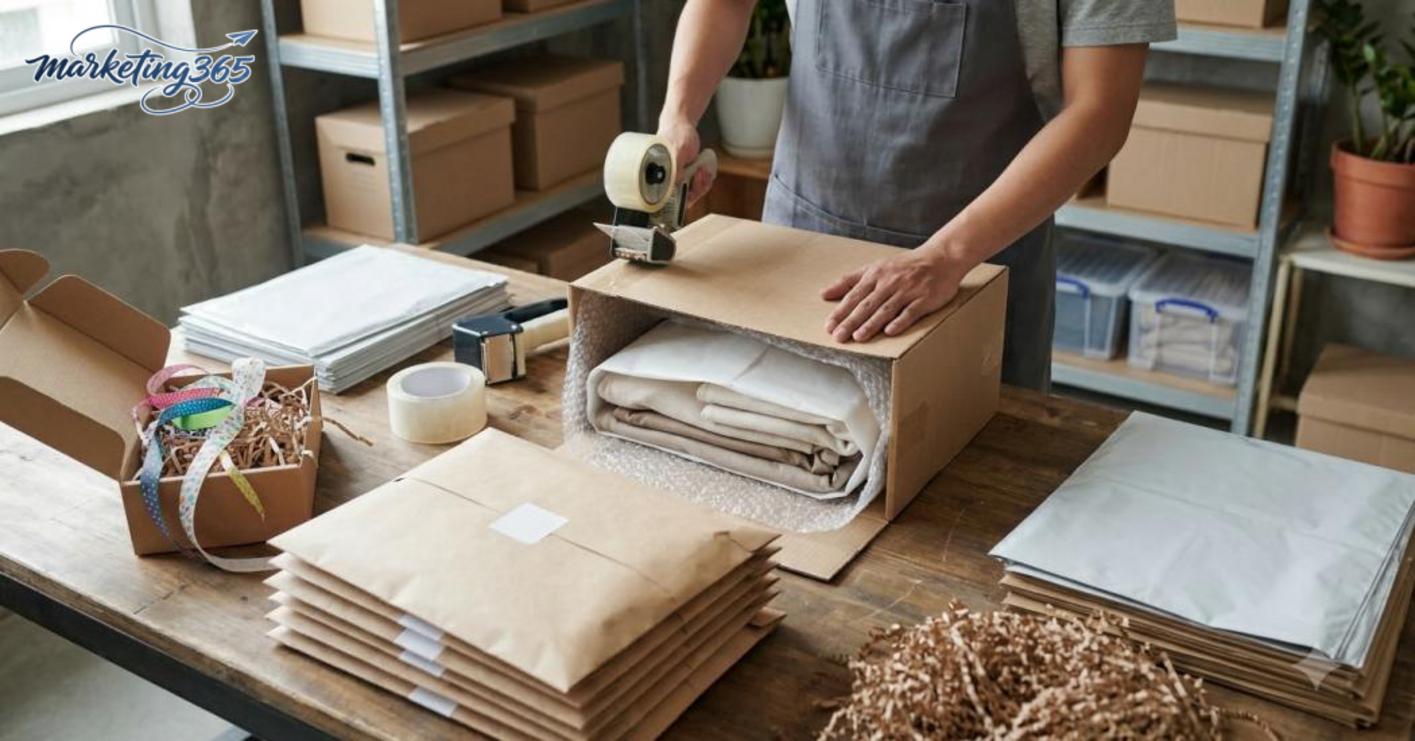
Professional beautiful product packaging starts with choosing the right box, bag, and filler material for each item’s characteristics. Clothing needs a bag or box that fits the size to preserve shape and reduce wrinkles; small accessories should use a bag with filler paper to prevent shifting; fragile items need a sufficiently thick shock-absorbing layer; gift items should prioritize a rigid box, a clean surface, and just enough empty space so the package looks neat.
If you use the same packaging style for every order, the two most common problems are a box that is too large, causing the item to move around, or a box that is too tight, causing the surface to dent. When choosing materials, check three things first: product size, the level of protection needed, and how well the item will hold its shape after delivery. Choosing boxes and product packaging is about choosing function first, beauty second.

Decorative materials to use sparingly so they do not clutter the package
Effective package decoration keeps the visual side attractive without slowing down the workflow. Only use stickers, filler paper, thank-you cards, and minimal ribbons if they do not cover shipping labels, block shipping information, or add too many extra steps.
For small shops, the decoration that impresses customers often comes from consistency: one filler paper color, one sticker style, one neat card. If each order has to be retied or layered with too many stickers, the process will slow down immediately. Ideas for attractive product packaging for small brands should prioritize repeatability, a clean look, and fast handling.
Step-by-step professional beautiful product packaging process
The step-by-step professional beautiful product packaging process starts with checking the item, cleaning it, wrapping it for protection, securing it in the main packaging, and then finishing the surface. Following the correct order helps the parcel become sturdy, neat, and professional the moment the customer opens it.
Which step determines how sturdy the parcel is
The step that determines how sturdy the parcel is is adding shock protection and securing empty space before sealing. If you skip this step, the item can still get dented, shifted, or broken even if the outside looks very nice.
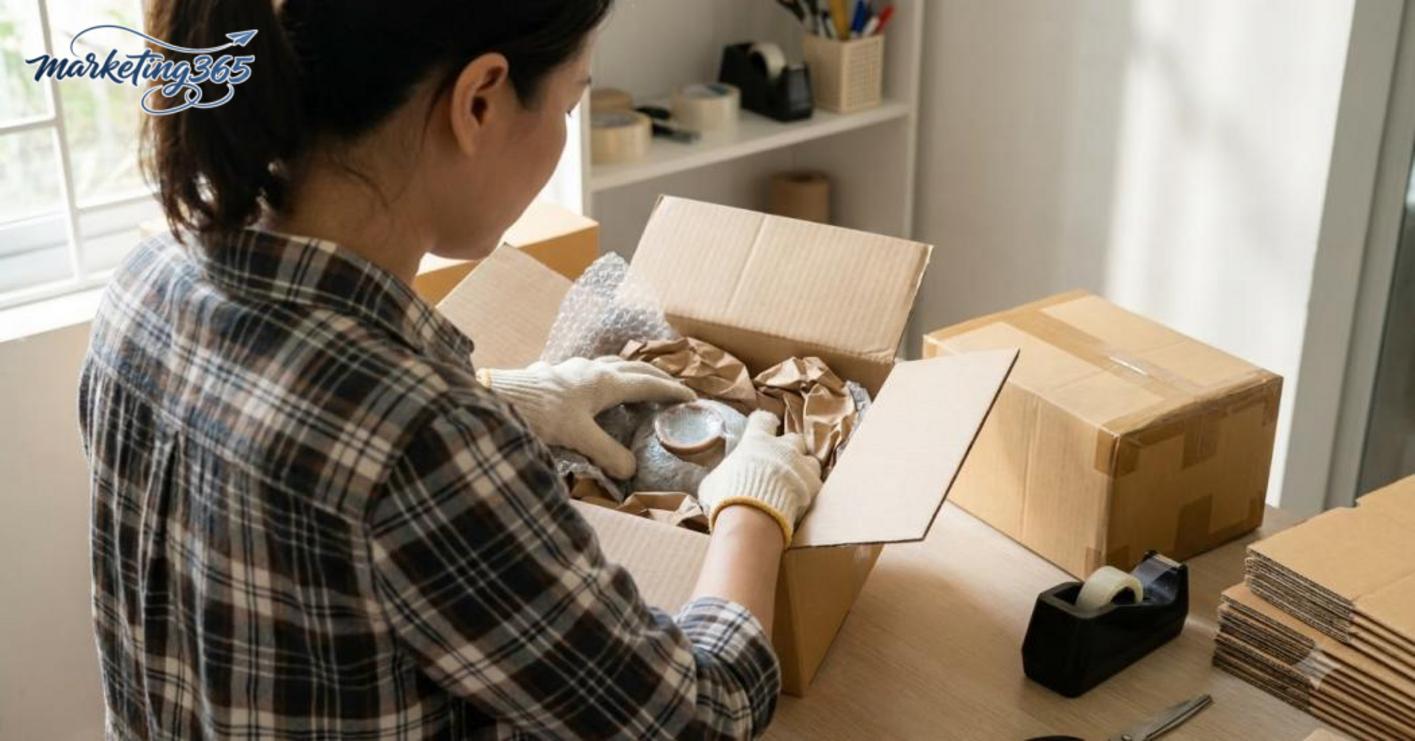
The professional product packing process at home should follow four actions:
- Check the product and remove dust, moisture marks, and small defects before packing.
- Wrap with the right amount of shock protection, especially for glasses, bottles, accessories, and small electronics.
- Insert cushioning material so the product does not rattle when the box is shaken.
- Apply tape on load-bearing edges, not just across the middle of the box for appearance.
A parcel that meets safe packaging standards usually does not make a clattering sound when shaken lightly. If you hear the product moving, open it and add cushioning immediately, because that means the empty space has not been secured. For fragile orders, check the box edges and bag folds again before handing them over.
Read more: How to Optimize Order Cancellation Rates for Online Shops
How to finish the surface so the package looks neat and stylish
A beautiful finishing touch means keeping every detail straight, clean, and consistent rather than adding too much decoration. A beautiful package for an online shop usually looks neat in the label, smooth at the tape edges, and wrinkle-free on the outer layer.
Quick finishing checklist:
- Align the shipping label and secondary stickers straight, avoiding crooked placement.
- Trim excess tape so it does not look messy.
- Use 1–2 main colors to keep order recognition consistent.
- Wipe the outer surface before sealing, especially when packing many orders in a row.
Packaging that wins customers over often comes down to small details: the box is not dented, the bag is not wrinkled, the label is easy to read, and the surface is clean. For gift orders, prioritize cleanliness and polish over excessive decoration; the best package decoration is just enough, without hiding the structure of the package.
How to package common product groups beautifully
Professional beautiful product packaging needs to change by product group because each type has different priorities: preserving shape, shock protection, a polished feel, or loss prevention. When the shop chooses the right protective layers and wrapping method, the order is safer and looks neater when the customer opens it.
How to package clothing for customers so it does not wrinkle and still looks good
The best way to package clothing for customers so it does not wrinkle is to fold it to match the packaging size, add a thin liner if the fabric creases easily, and avoid packing it too tightly in a bag or box. For dress shirts, structured T-shirts, or thin dresses, place soft paper between folds to reduce crease marks. A common mistake is overstuffing to save on packaging, which leaves the item bulky and out of shape when it reaches the customer. If you use stickers, place them on the outer edge for a neat look without covering the product. The professional product packing process at home usually only needs three steps: fold to the correct size, add filler when needed, and seal comfortably.
How to package fragile items so they are both safe and attractive
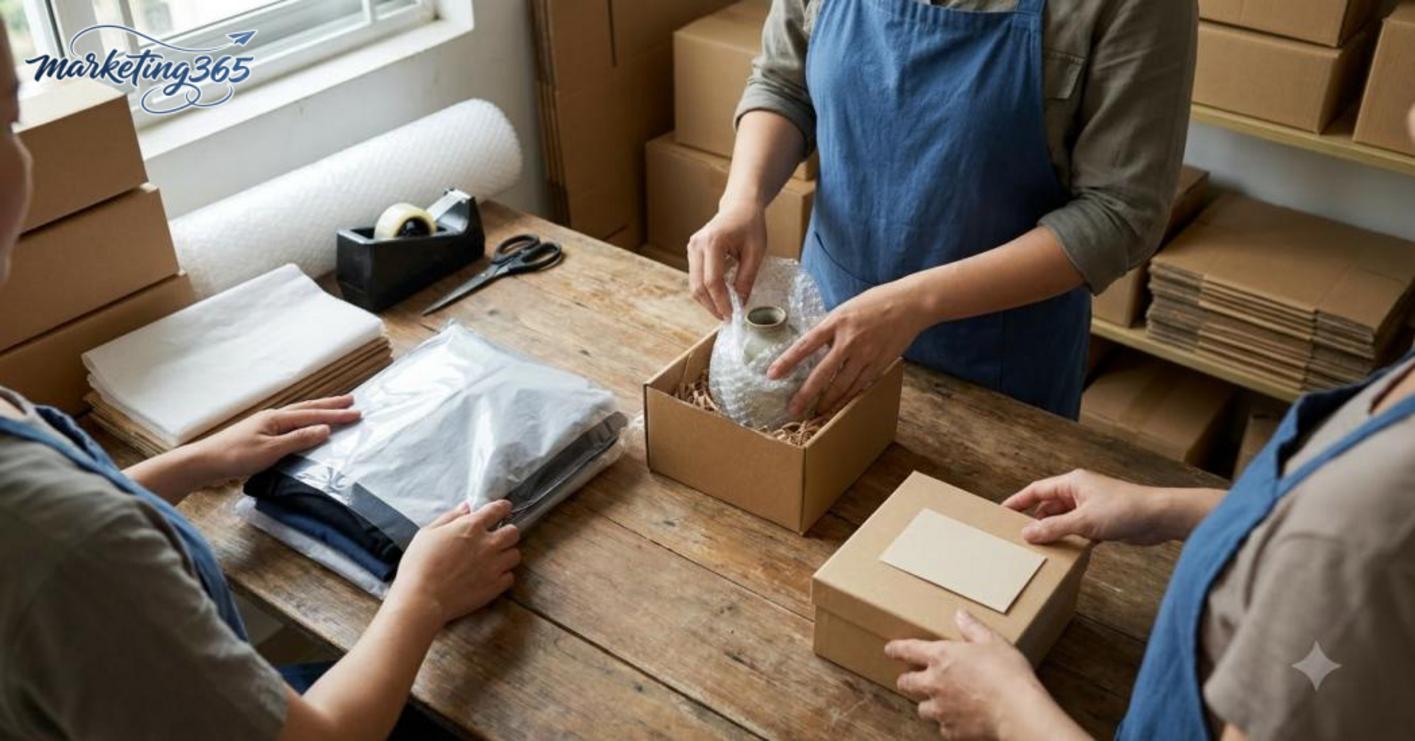
The way to package fragile items so they are both safe and attractive always starts with a shock-absorbing layer first, then a clean and sturdy outer layer. Glassware, ceramics, bottled cosmetics, or items with sharp edges should be wrapped individually, then the empty space should be secured with filler material so the items do not collide while moving. If the outer box is too soft, the item can still get crushed even if the inside is well wrapped. If the shop sends cups, jars, or small decor items, check again by gently shaking the box: if you hear movement, add more cushioning immediately. For this category, choosing boxes and packaging that look good means prioritizing clean, rigid, and properly sized materials.
How to package gift items to create a polished impression
How to package products sold as gifts should focus on the unboxing experience: a clean outer layer, minimal colors, easy opening, and no complicated handling. For gifts sold online, a small thank-you card, neat filler paper, and a tidy product arrangement often create a more polished impression than excessive decoration. The shop should also keep the box lid easy to open and close, avoiding layers of tape that force customers to tear it open. Ideas for attractive product packaging for small brands are usually most effective when they are neat, consistent, and simple, because the packing team still needs to process daily orders quickly. If you want professional beautiful product packaging without spending too much extra time, prioritize one clear accent instead of adding many unnecessary layers.
How to make packaging look good while saving time and cost
Professional beautiful product packaging is about standardizing three things: choosing the right-sized materials, securing the product neatly, and adding just enough brand identity. For shops selling T-shirts and small accessories, simply switching from oversized bags to the correct size and pre-printing stickers can reduce each order by about 20–30 seconds of handling time.
Choose the packaging base first, then decorate
Read more: Effective Free Shipping Strategy for Online Shops
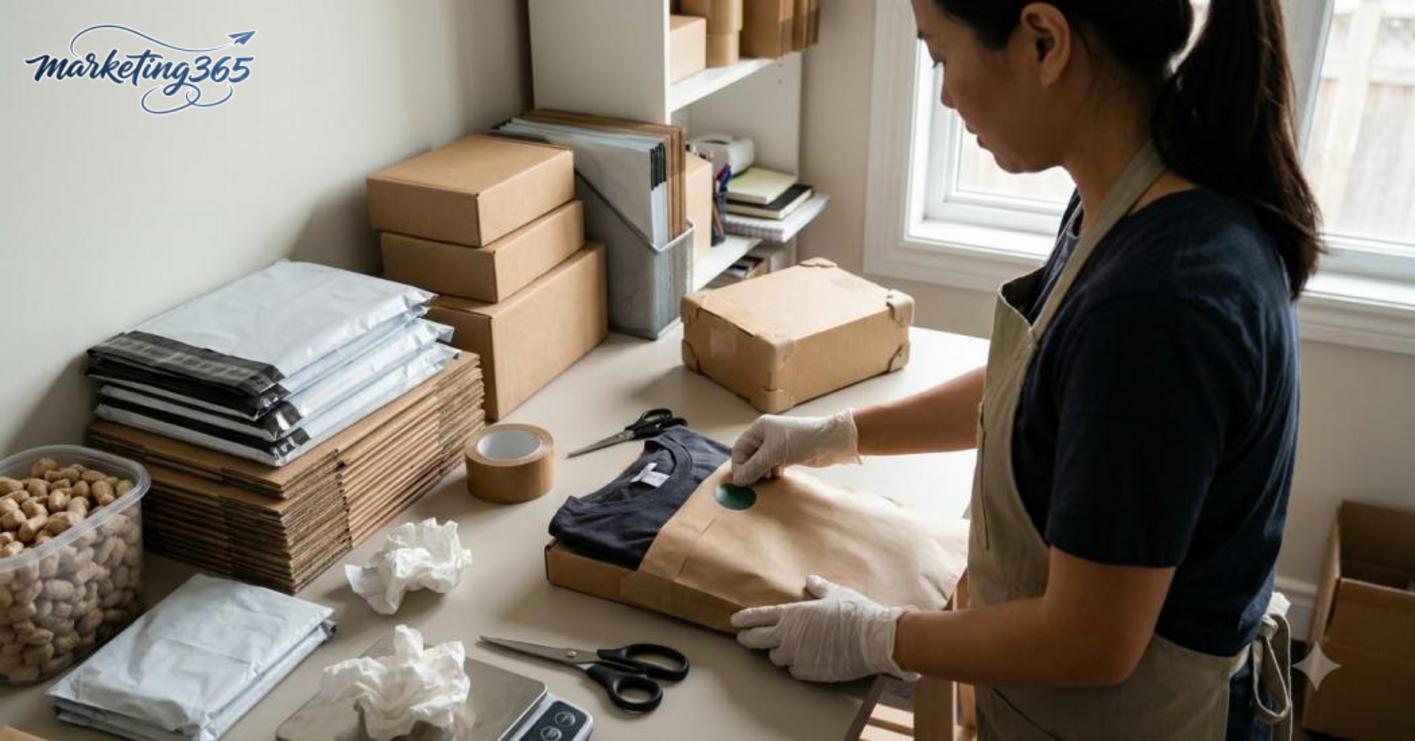
The first step is to choose a box or bag that fits the product closely to reduce empty space and cut down on extra cushioning work. For example, a T-shirt order usually only needs a thick plastic bag or a paper bag in the correct A4/A5 size; a ceramic cup order should use a 3-layer carton box and filler paper in the four corners. For items that dent easily, prioritize shock protection before thinking about stickers or ribbons.
Follow these three actions:
- Measure the item after it has been folded or assembled.
- Choose packaging that is about 1–2 cm larger than the product on each side if it is a soft item.
- For fragile items, add paper or foam wrap so the item does not move when the box is shaken lightly.
Keep it attractive with fewer details but more consistency
The cost-saving way to package beautifully is to use one or two brand identifiers instead of many decorative layers. Shops selling on Shopee or TikTok Shop can use one logo sticker design, one fixed bag color, and pre-printed thank-you labels; this is easy to repeat and does not slow down packaging. When there are 30 orders in a day, sticking a label in one fixed position is usually faster than adding ribbons, cards, and extra stickers.
You can apply the following three-step process:
- Choose one main color for the bag, box, or wrapping paper.
- Pick only one brand accent, such as a corner logo sticker or a small thank-you tag.
- Remove decorative accessories if they add one extra step to each order.
Material selection table by goal
The table below helps balance beauty, safety, and processing speed.
| Goal | Recommended materials | When to use |
| Protect the product | Correct-size box, filler paper, shock-absorbing bag | Fragile items, items with edges |
| Neat and attractive | Matching bag/box colors, small stickers | When the shop needs a consistent image |
| Save time | Pre-printed labels, one packaging type for multiple SKUs | When there are many similar orders |
Standardize the process to reduce errors and costs
Standardizing the packaging process helps the shop avoid buying too much material and avoids repacking due to the wrong size. A simple checklist with four items is enough: correct size, enough shock protection, sealed edges, and exterior inspection before delivery. If the shop has 10 or more SKUs, it should pre-select 2–3 packaging models so it does not have to choose again for every order.
The fastest way is:
- Create a fixed material set for each product group.
- Keep the materials in the same place on the packing table.
- After packing, shake the box lightly once to check sturdiness.
Professional beautiful product packaging works best when you prioritize safety first, then add brand identity, and only use decoration when it does not slow down the process.
Common mistakes that make a package lose points even when the product inside is fine
Read more: Lazada Sales Secrets for New Shops
Packaging loses points most often because of mistakes that are immediately visible, even when the product inside is still intact. When doing professional beautiful product packaging, a crooked package, sloppy tape, or a label in the wrong place is enough for customers to feel the order is not polished.
Mistakes that make customers feel it is unprofessional at first glance
Aesthetic mistakes make customers judge the shop poorly before they even open the package. A wrinkled or dirty outer layer, a box that is too large for the product, messy colors, or a crooked label all ruin the clean feeling that beautiful packaging for online shops should have.
The quick fix is to handle three points:
- Choose a box size that fits well, avoiding too much paper just to fill empty space.
- Wipe away dust and flatten the outer surface before applying stickers or ribbons.
- Secure accessories neatly in one corner so the layout is clear when opened.
A neatly folded clothing order with a wrinkled plastic bag and crooked sticker still gives the impression of carelessness. For packaging that wins customers over, neatness comes before decoration.
Mistakes that increase the risk of damage during delivery
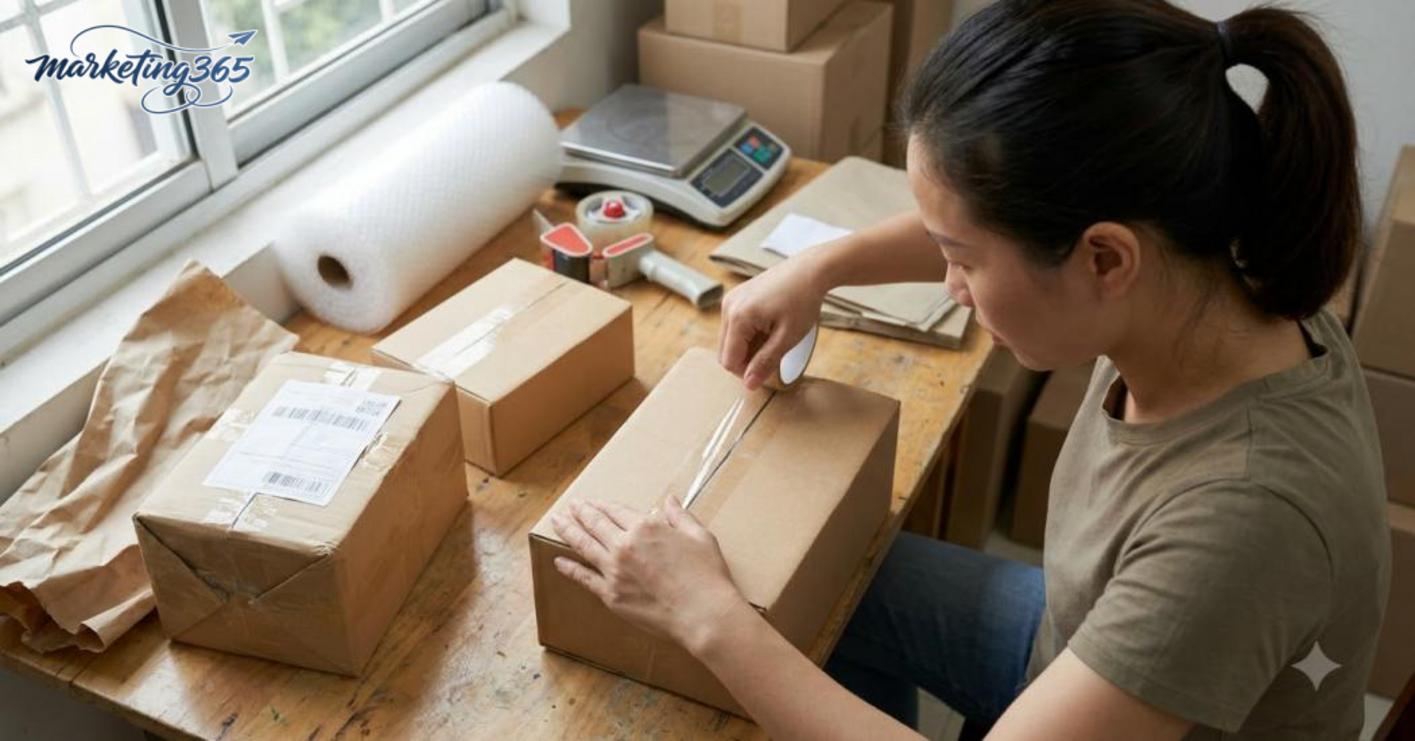
Technical mistakes make orders more likely to dent, shift, or come apart during transit. Not adding shock protection, using a box with weak edges, leaving too much empty space, or failing to seal properly all reduce the ability to protect the product.
Fix it quickly with a four-step checklist:
- Shake the box lightly; if the item moves inside, add more cushioning.
- Switch to a sturdier box when the product is heavy or has sharp edges.
- Seal all load-bearing edges tightly, especially the bottom and lid.
- Check the shipping label again before handoff; wrong names, wrong codes, or covering the barcode can all easily lead to returns.
For fragile items, keep empty space to a minimum and do not let heavy objects press on top. Packaging experience from shops often comes down to this: it looks simple, but it must withstand real impact.
Checklist to review before finalizing the order and handing it to the carrier
The final checklist before handoff is the last filter to make sure the order goes out correctly, cleanly, securely, and is easy to identify. With professional beautiful product packaging, missing even one small detail can lead to returns, customer complaints, or claims about missing items.
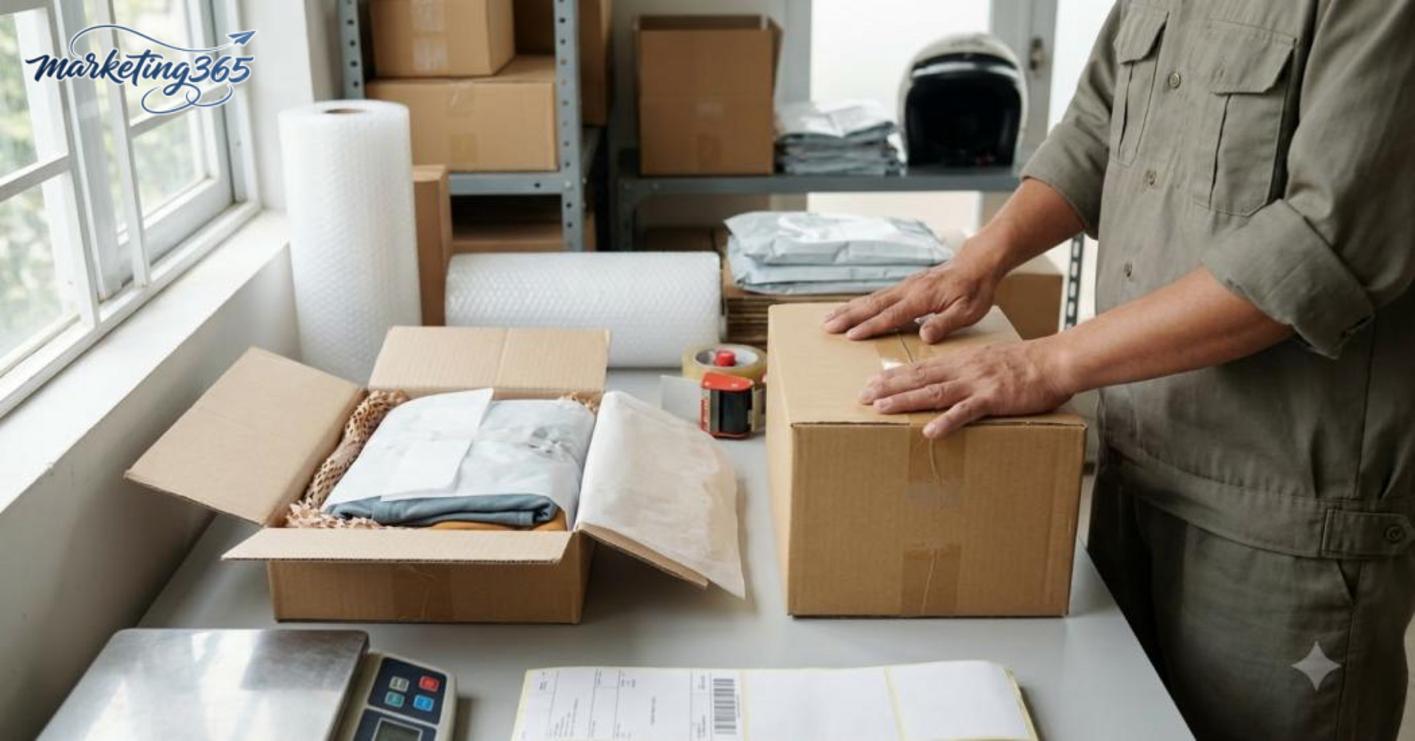
Use this packing checklist right at the packing table:
- [ ] Correct model, size, color, and quantity.
- [ ] Clean surface, no dust, no fingerprints, no scratches showing on the outside.
- [ ] Packaging is the right size, fits the item well, and is not too loose.
- [ ] Protective layer is suitable: shock-absorbing bag, filler paper, foam, or PE bag depending on the product.
- [ ] Sealed tightly at the box edges and bag edges, with no open corners or loose tape.
- [ ] Address label, order code, and shipping code are clear, flat, and do not cover readable corners.
- [ ] The package does not expose the product or any easy-to-lose accessories, and the product is not visible from the outside.
- [ ] A light shake does not produce a strong clattering sound; if it does, add more filler immediately.
A packing process that shop owners should know is to check three times: before packing, after sealing, and before handoff. For example, a clothing order needs to be folded flat, placed in a clean bag, and the bag sealed with tape; a fragile order needs extra edge cushioning before the label is applied. Doing this checklist consistently helps packaging that wins customers over because the order arrives looking neat, safe, and exactly as expected.
Frequently asked questions about professional beautiful product packaging
Professional beautiful product packaging can be done right at the shop if you standardize your materials and process. A minimal set of a box or bag, filler paper, tape, a thank-you sticker, and a shipping label is enough to create a polished feel, as long as the steps are handled consistently and in the right order.
Does beautiful packaging have to cost a lot?
You do not need to spend too much if you choose one or two fixed packaging models for each product group. For example, for T-shirt orders, many shops only use a thick plastic bag + sealing sticker + thank-you card, and the cost per order is usually lower than changing boxes, ribbons, and accessories for every order.
The cost-saving approach is to buy materials in batches of 500–1,000 pieces, because the unit price is usually easier to control and it reduces the risk of running out when closing orders. If you sell on Shopee or TikTok Shop, you should keep one packaging code for lightweight items and one for fragile items to avoid waste.
Can a small shop do professional packaging at home?
Yes, and it should start with a fixed packing corner right next to the product shelf. A simple process includes four steps: 1) check the order and match the SKU code, 2) add shock protection or fold in filler paper, 3) place the item in the bag/box and seal it, 4) apply the shipping label and thank-you sticker on the outside.
A 1.2 m table, scissors, tape, and a thermal label printer such as Xprinter are enough to run smoothly for a small shop. If orders increase, you only need to add sorting trays and a shelf for materials within reach, instead of renting a separate space.
Should you prioritize beauty or sturdiness when packaging customer orders?
You should prioritize sturdiness first, then add beauty after the product has been protected. For long-distance orders or fragile items, use three layers: a shape-retaining layer, a shock-absorbing layer, and an outer finishing layer.
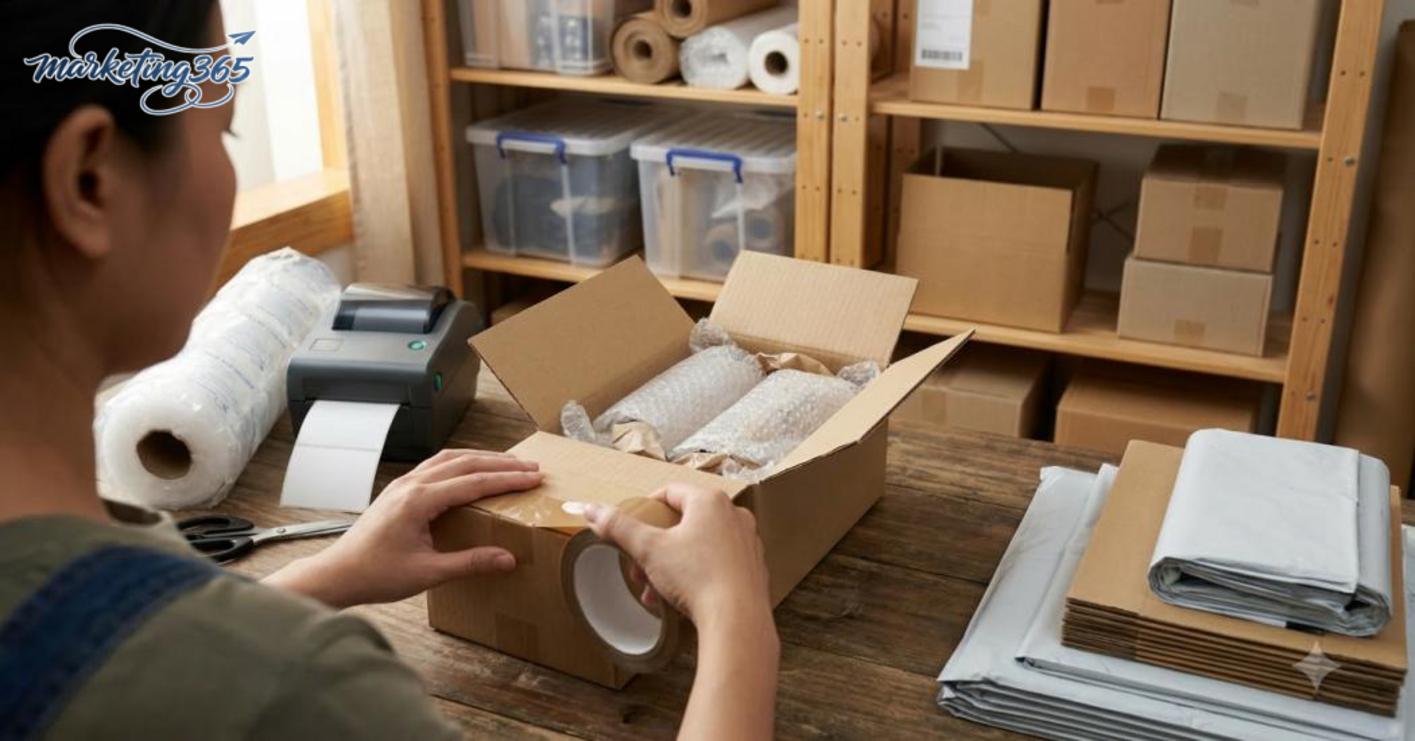
Specifically, you can wrap the product in filler paper or bubble wrap, place it in a box of the right size, and secure it with tape on all four sides. After that, add stickers, a thank-you card, or colored filler paper to increase the professional feel without affecting safety.
For official and up-to-date guidance, you can also refer to materials from Think with Google.
You can find more practical marketing guides at https://marketing365.vn.
Content from marketing365 is built for SMEs, online shop owners, and new marketers.
You can also read more articles on the same topic in the Ecommerce Marketing category.